Creating a MySQL database
How to create a MySQL database in H-Sphere
This tutorial assumes that you've already logged into your H-Sphere control panel
Now let's learn how to create a MySQL database
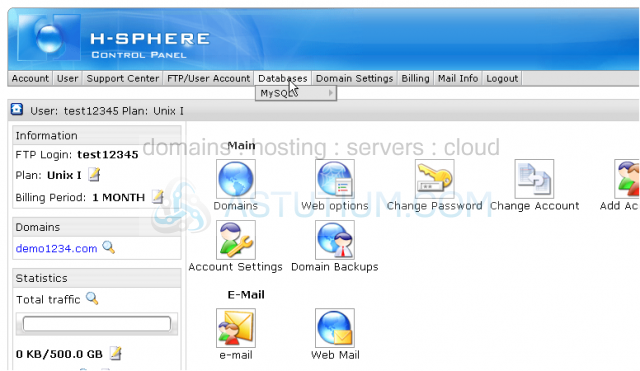
1) Scroll over Databases...
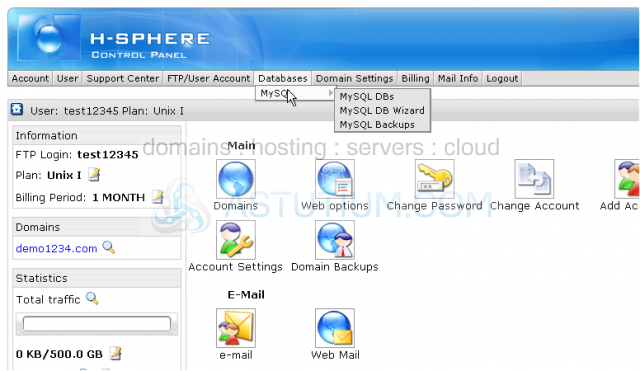
2) ...then scroll over MySQL...
3) ...then click MySQL DB Wizard
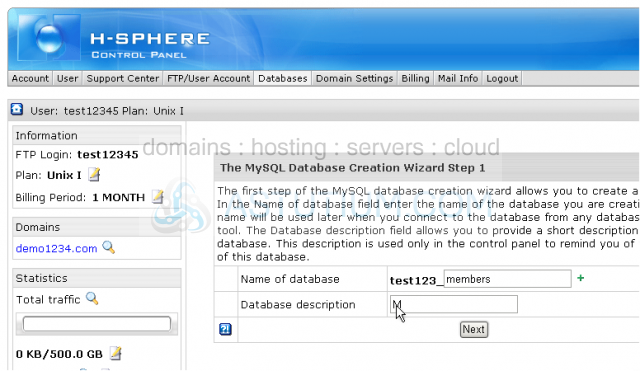
4) Enter the database name here
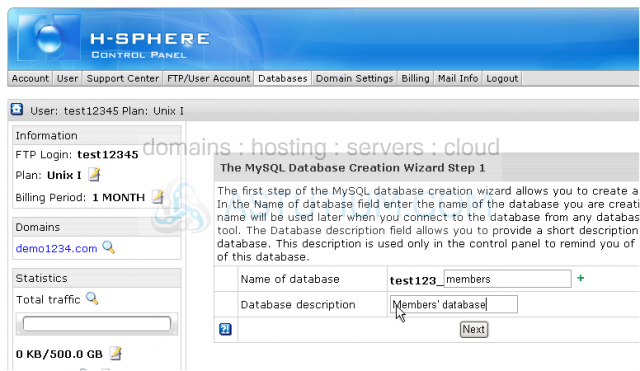
5) Then enter a Database description (this field is optional)
6) Then click Next
Scroll down
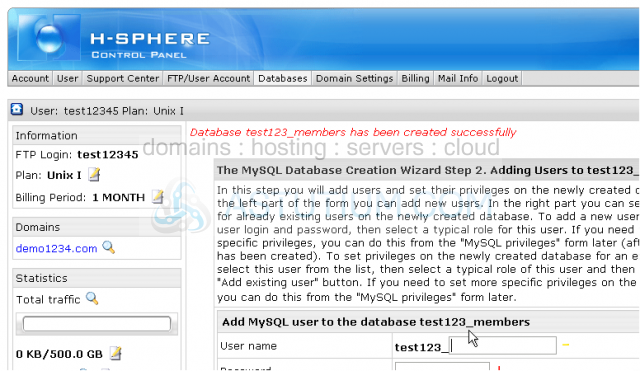
The database has been created. Now we need to add a database user
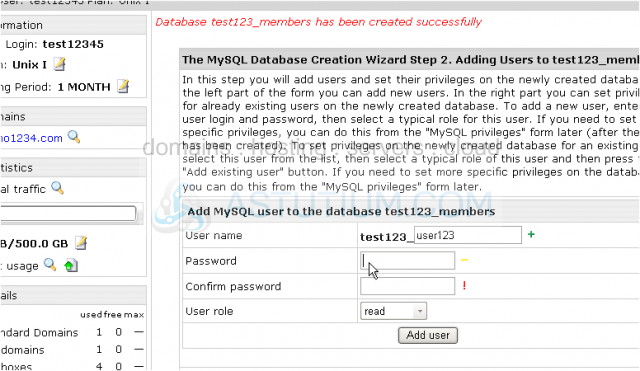
7) Enter a new database username here
8) Enter and confirm a password for this user
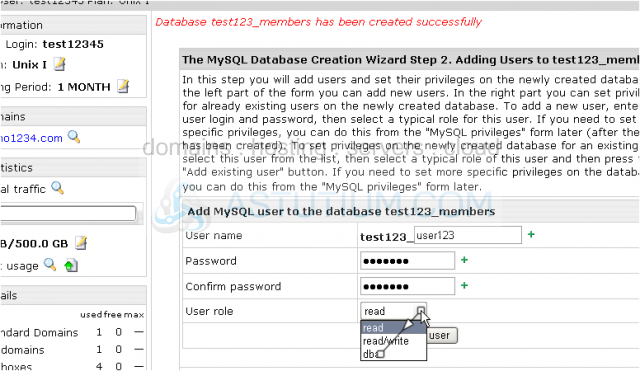
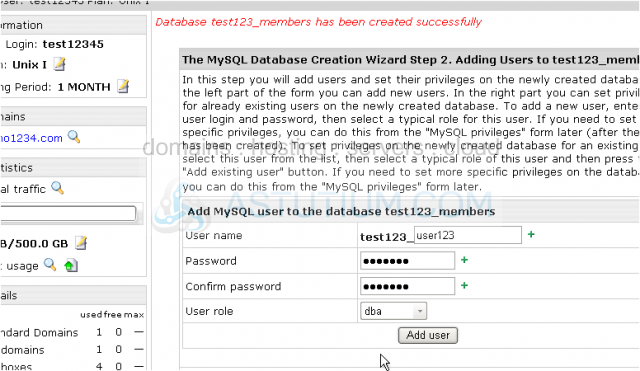
9) Choose the role for this user
10) When finished click Add user
That's it! The database that we have just created now has a user set up for it, so the database is ready to use
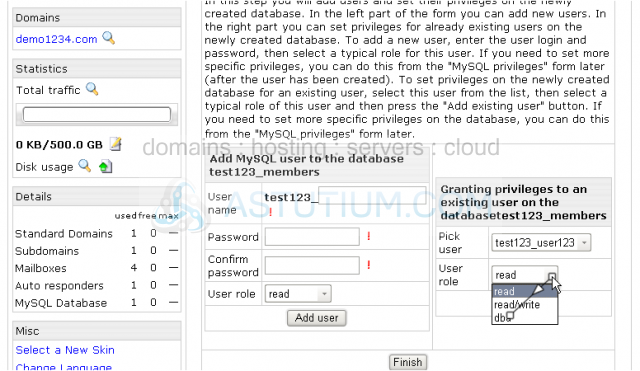
Now let's see how we can grant or change privileges for the existing and new database users
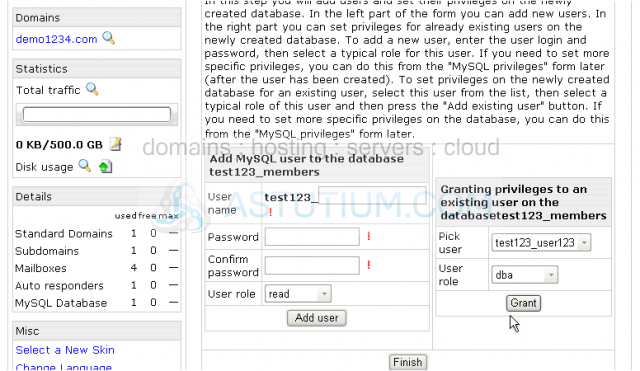
11) Choose User role from the drop-down list here
12) Then click Grant
You may now see that the requested privileges have been granted for the given database user
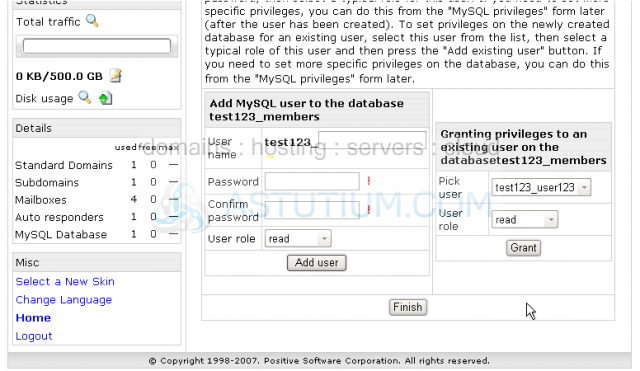
Scroll down
13) To complete the setup click Finish
After you complete the database setup you'll get the database management area where you can perform different operations with your database and its data. These operations will be described in detail in the next database tutorial
This is the end of the tutorial. You now know how to set up a database, its user and how to grant privileges on this user within your H-Sphere control panel

 Add to Favourites
 Print this Article
 Outlook Error 0x800CCC80 when sending email.. Unable to send email - no connection to mailserver on port 25. (Views: 6269)