Managing a MySQL database using phpmyadmin
Managing MySQL databases with PHPMyAdmin in H-Sphere
This tutorial assumes that you've already logged into your H-Sphere control panel
Now let's learn how to manage our MySQL databases with PHPMyAdmin
1) Scroll over Databases...
2) ...then scroll over MySQL...
3) ...then click MySQL DBs
4) Click the PHPMyAdmin link here
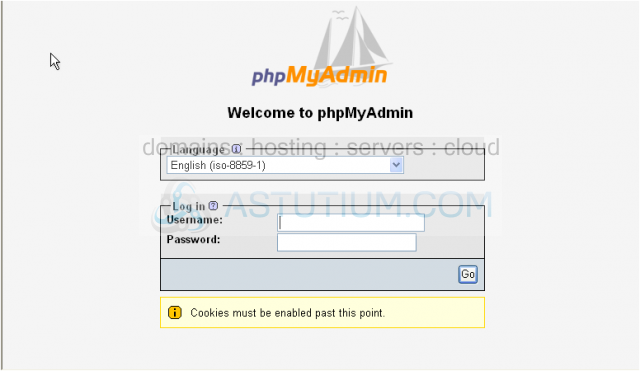
This is the PHPMyAdmin main screen
5) Let's choose this test database as the one we wish to manage
Currently there are no tables in this database as indicated here
We can create a new table here...but we're not going to do that now
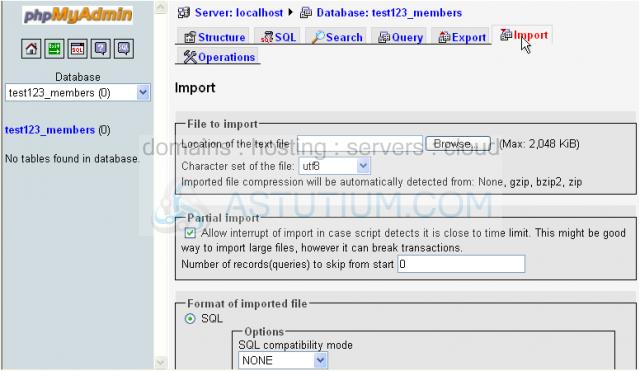
6) Instead we will import a new table into this database...click the Import button here
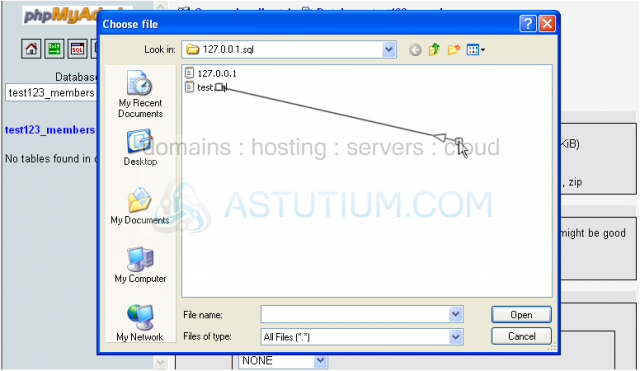
7) Let's locate our test SQL dump file which was previously created and saved
Scroll down
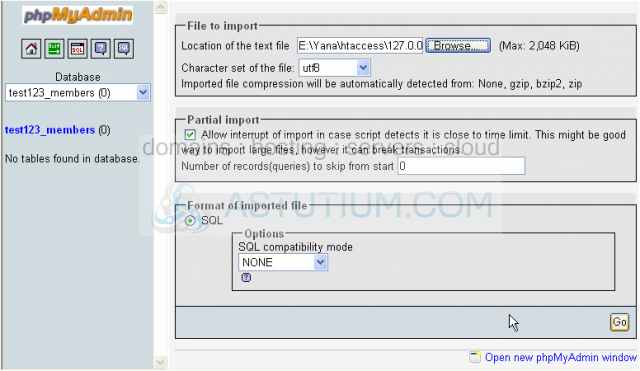
8) When ready click Go button here
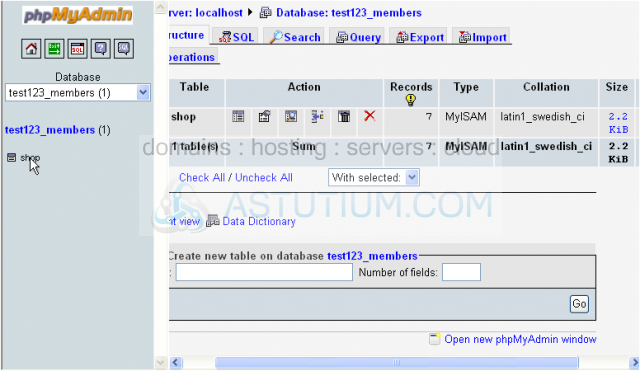
We've successfully uploaded our test backup file and a new table 'shop' has been created
9) Click table 'shop'
On this page you may see all the details of the table 'shop' within the database 'test123_members'
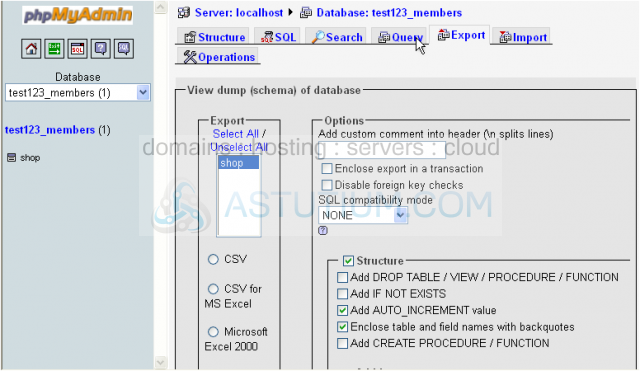
Now let's learn how to save our table 'shop' on to your local PC
10) Click the Export link here
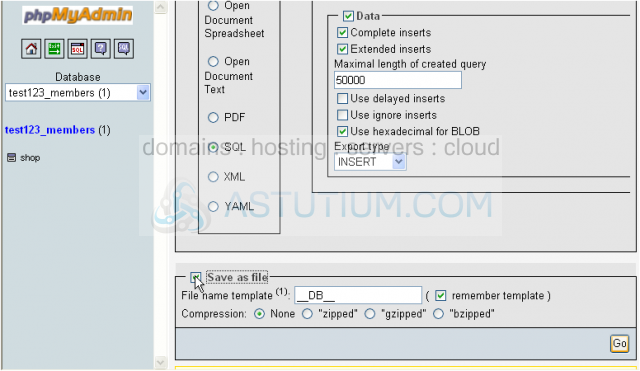
Scroll down
11) Select the Save as file checkbox here
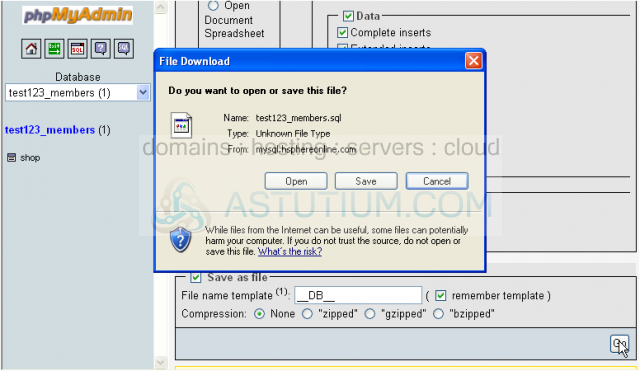
12) Then click Go
13) Click Save
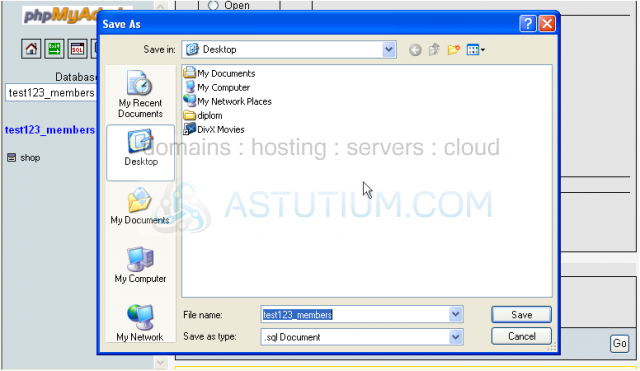
14) Then click Save here
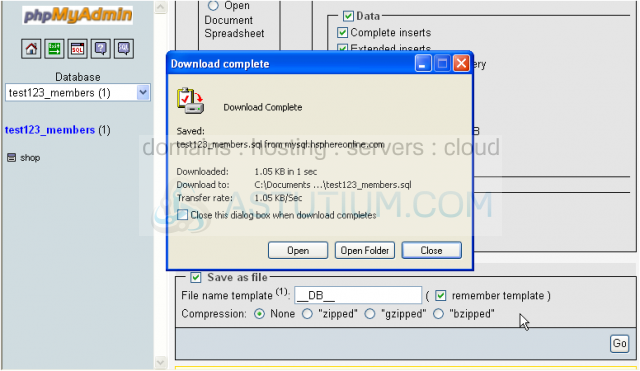
We've just saved table 'shop'
15) Click Close
Let's go back
If at any time you would need help with using PHPMyAdmin or MySQL click the Help icons here
16) Click the Exit button here
You now know how to use PHPMyAdmin to manage your MySQL databases
Now let's learn how you can perform MySQL backups and restorations through your control panel interface
Scroll down
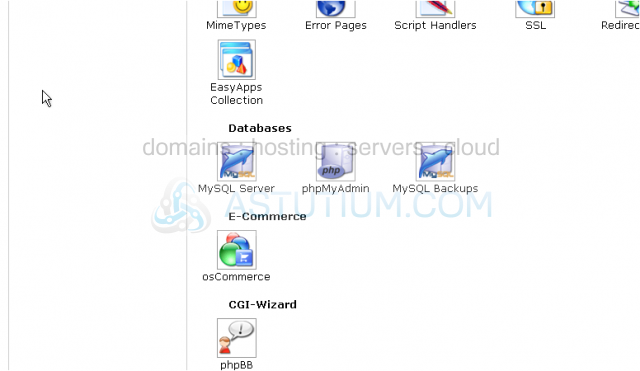
17) Click MySQL Backups icon here
Scroll down
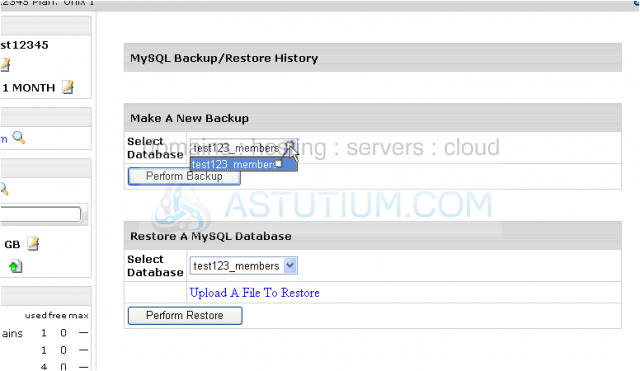
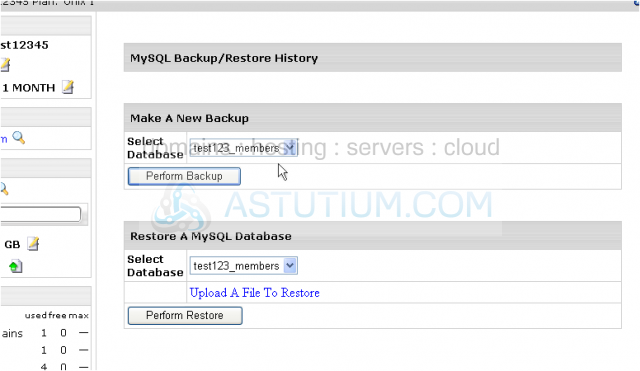
From this page you can create a backup of your MySQL database or upload a previously created backup file and restore the selected database
18) If you have more than one database in your account be sure to select it here
Let's see how we can create a database backup for our database 'test123_members'
19) Then click Perform Backup option here
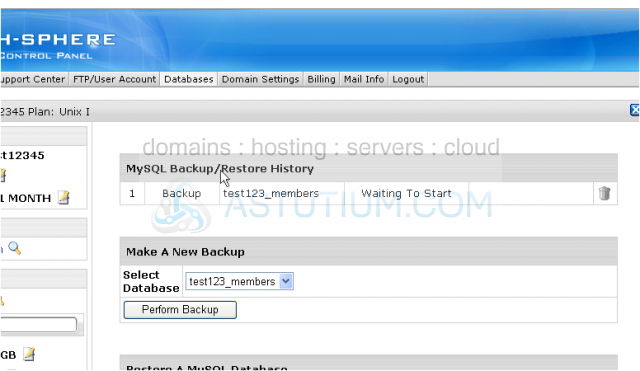
On this page we can see that the backup process has been started and will be completed shortly; the process of a database backup depends upon the database structure and size
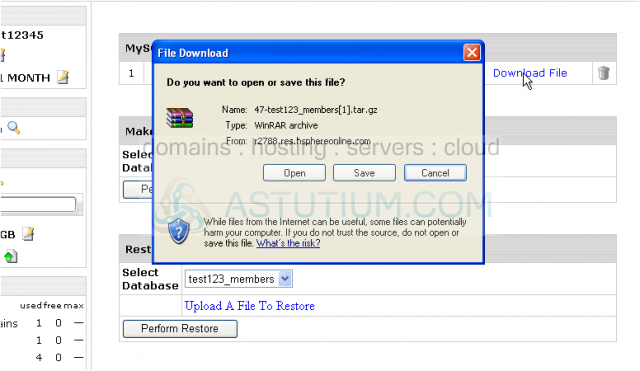
Now we can see that the database backup process has been successfully completed and you may download and save this file on to your local PC
20) To download a file click the download link here
21) Click Save
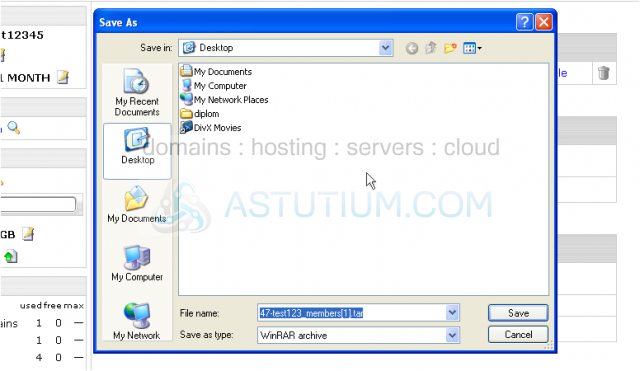
22) Then click Save here
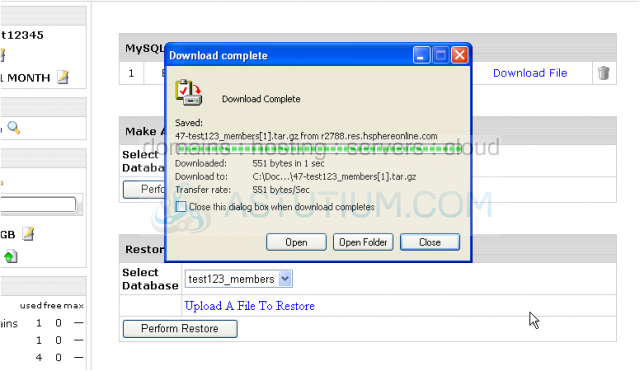
23) After the download is completed click Close
That's it! We've successfully created a MySQL database backup and may go back to H-Sphere home now
This is the end of the tutorial. Now you know how to manage your MySQL databases through PHPMyAdmin interface as well as through H-Sphere control panel
![]() Add to Favourites
Add to Favourites
 Print this Article


