Creating an email alias
How to create an email alias in H-Sphere
This tutorial assumes that you've already logged into your H-Sphere control panel
Now let's learn how to create an email alias in your H-Sphere control panel
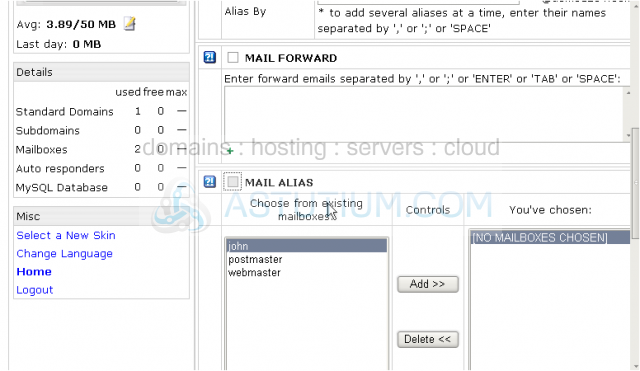
An email alias is an alternative address for a standard mailbox. All mail sent to the alias address will be delivered to the primary mailbox
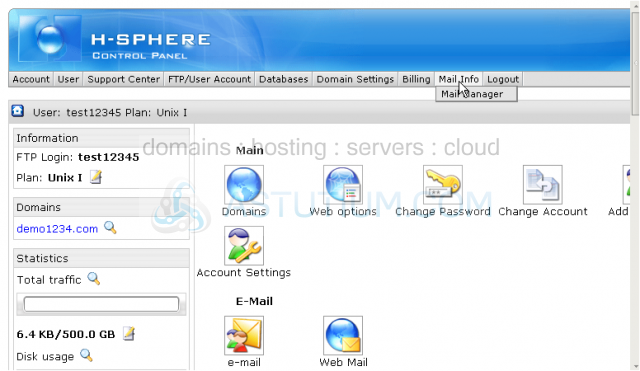
1) Scroll over Mail Info option
2) Then click Mail Manager
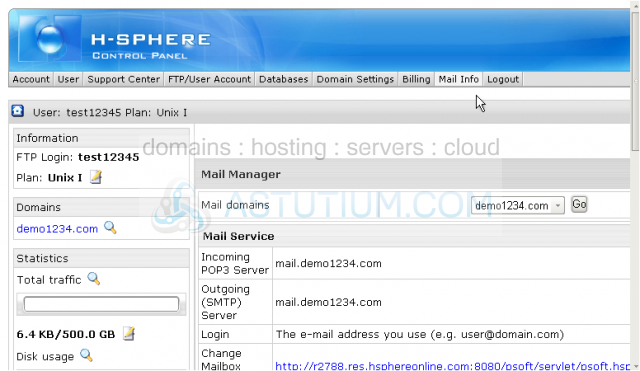
3) Be sure to select the correct domain name here if you have more than one domain
Scroll down
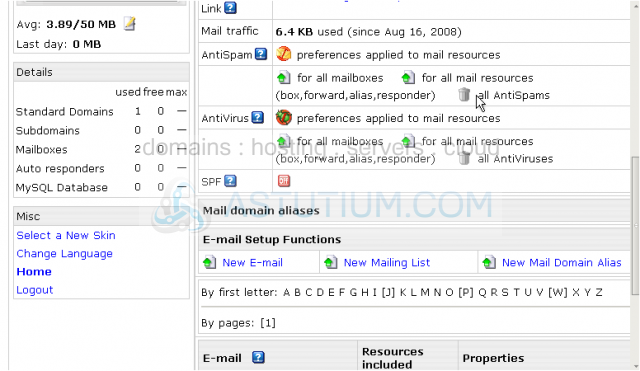
4) Under E-mail Setup Functions click New E-mail option
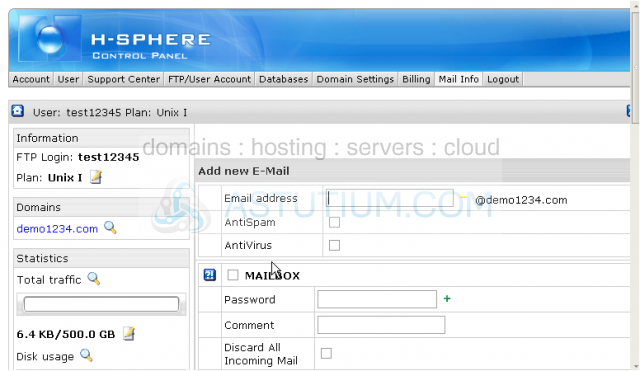
5) Type in the email alias address here
Scroll down
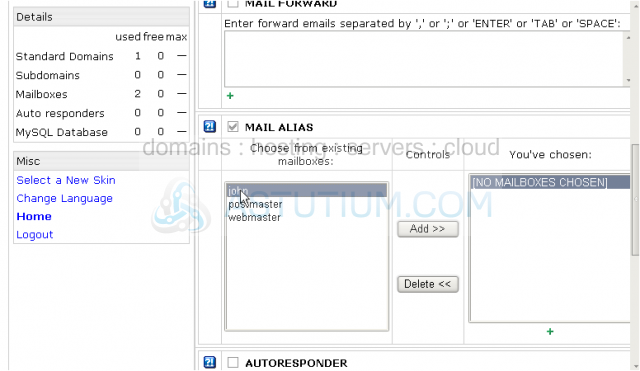
6) Check the option Mail Alias here
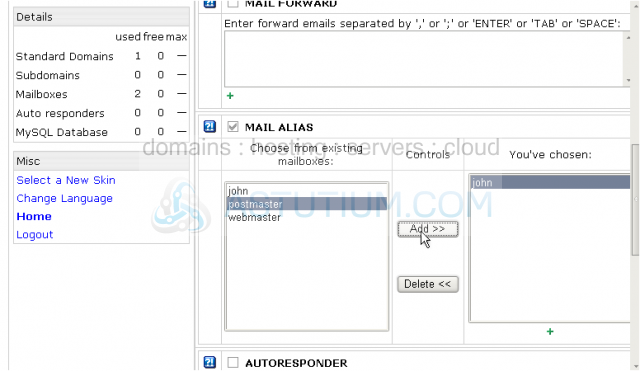
7) Now choose the email address from your existing mailboxes where the mail will be delivered to
8) Click on Add button
Now you may see the mailbox address is being listed at the right
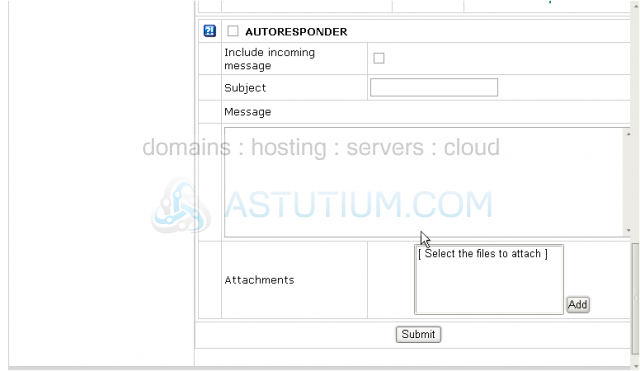
9) When finished click Submit button to save the changes and create a new email alias
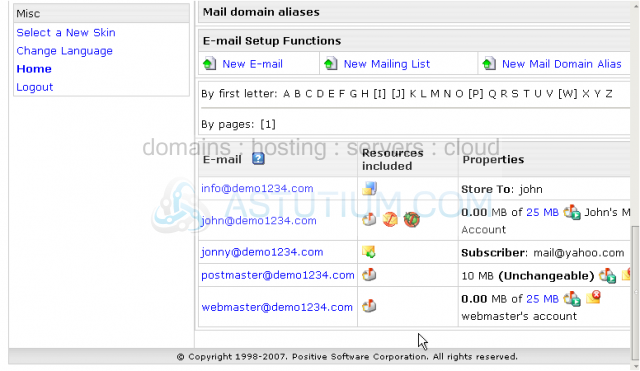
The new email alias info@demo1234.com has been created. Now all mail sent to this address will be delivered to john@demo1234.com
Let's scroll down and check...
Our new e-mail alias is listed here
This icon defines this mail resource as an email alias and not just a simple mailbox
You may edit or delete your existing email alias from this area or create the new email aliases the same way by clicking New E-mail option
This is the end of the tutorial. You now know how to set up email aliases and what they are used for
 Add to Favourites
 Print this Article
 How do I use Google Apps / GoogleMail /Gmail for my domains email service through HSPhere ?
(Views: 2668)
How do I use Google Apps / GoogleMail /Gmail for my domains email service through HSPhere ?
(Views: 2668)