Complete FTP series
19. Configuring your website in FTP Voyager
This tutorial assumes you already have FTP Voyager and have it running on your computer, but not connected to another server.
Now let's learn how to configure our website in FTP Voyager.
1) Click the File menu here.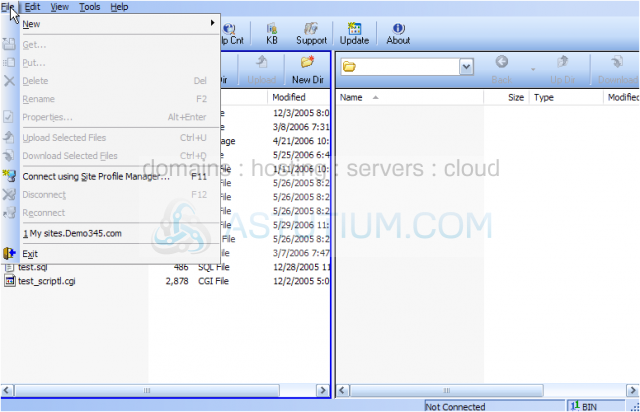
2) Then click the Site Profile Manager link.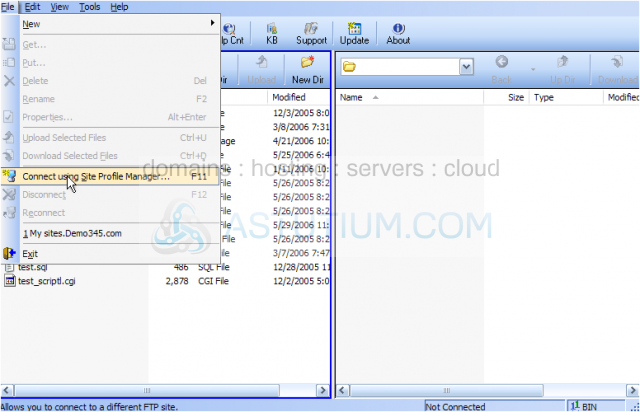
The Site Profile Manager window opens.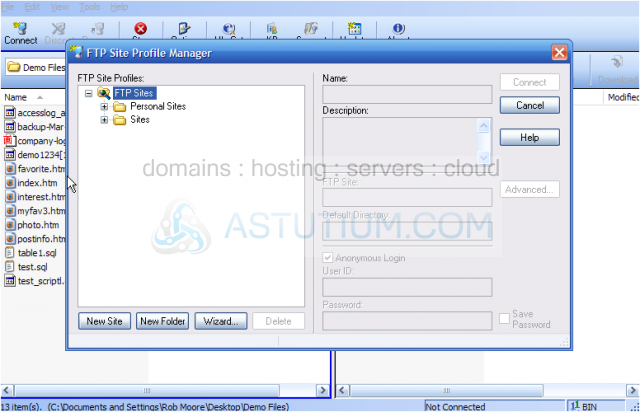
3) Now click the New Folder icon here.....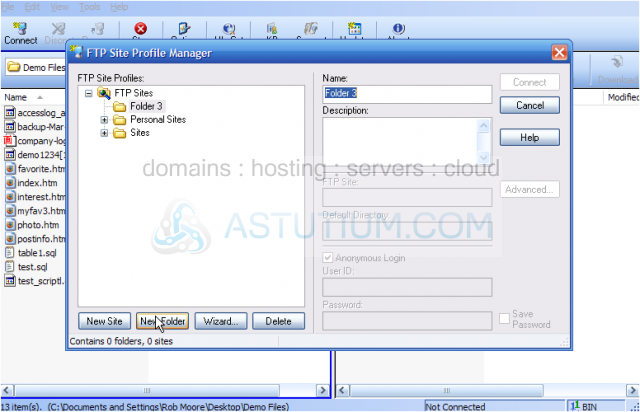
4) ..... and enter a name for the new folder.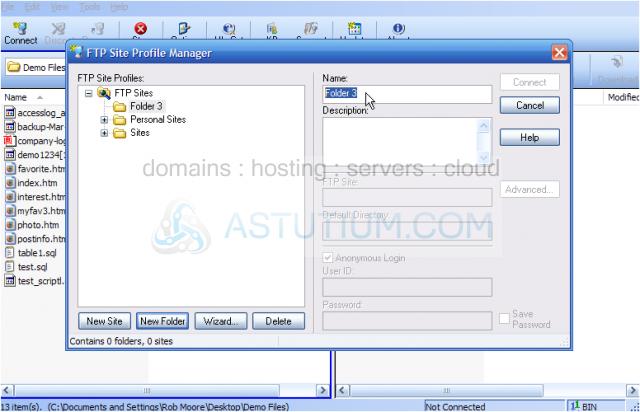
5) With our new folder highlighted, click New Site.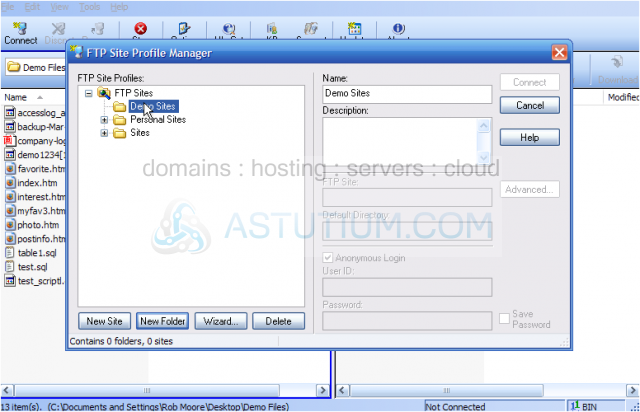
Now we must configure the properties of the new site we're setting up.
6) Enter a name for our new site.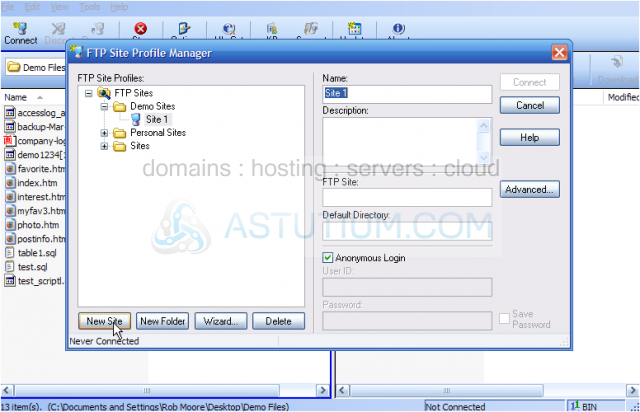
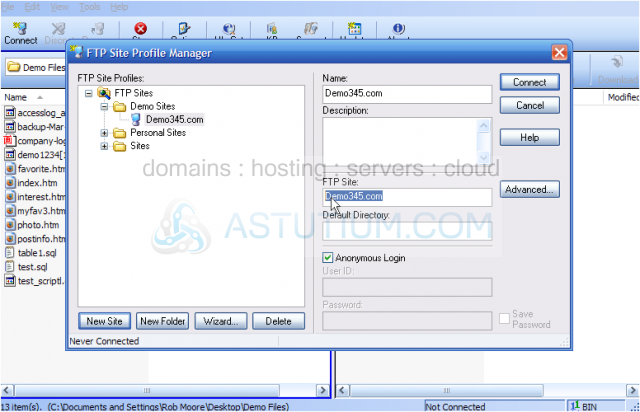
Note: If the domain name has not yet propagated, you'll have to enter the website's IP address instead of the domain name. If entering the IP address, do not include "ftp." before it..... just enter the IP address.
8) Un-check the Anonymous Login box.
9) Then enter the website's FTP username and password in the boxes here.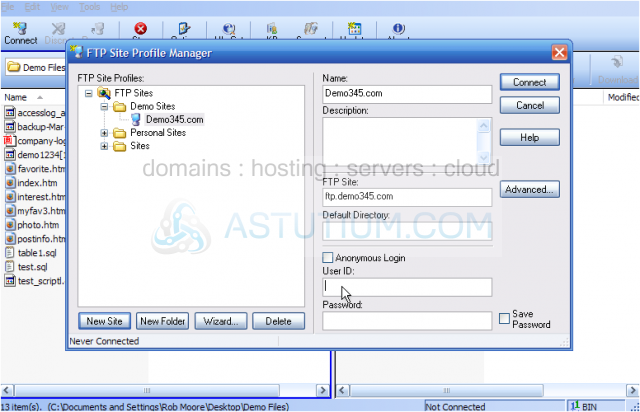
10) Then click Connect.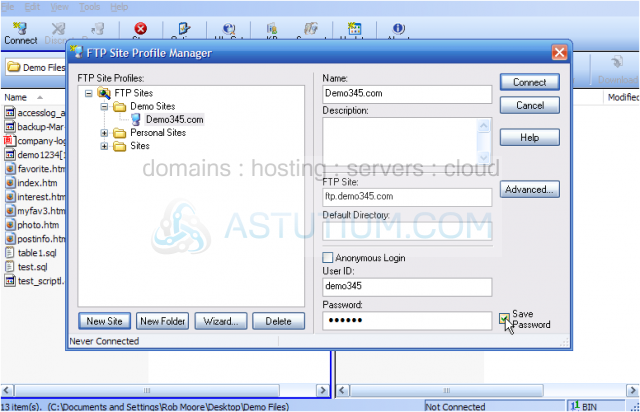
That's it! We've successfully configured the Demo345.com website by setting it up in our Site Profile Manager, and we've also established a connection.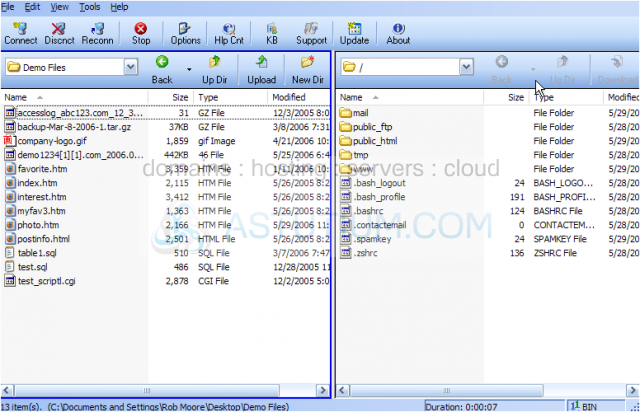
11) Click the Disconnect icon to close the connection.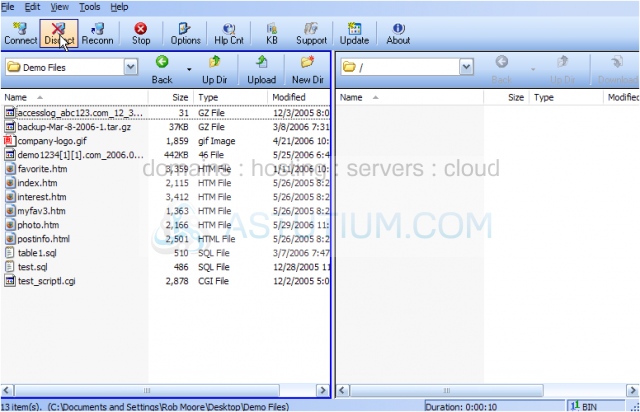
12) If you ever want to re-connect to that site, or setup and connect to a different site, click Connect.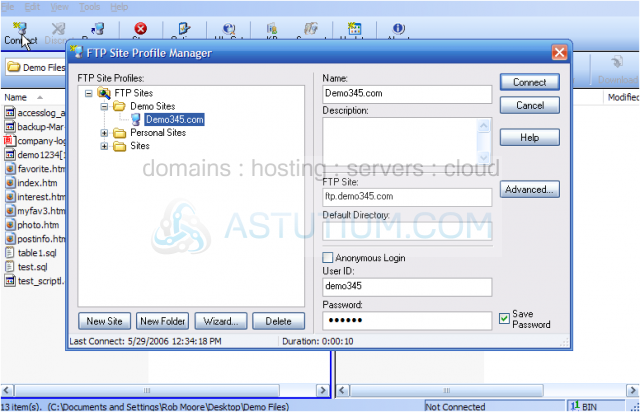
This is the end of the tutorial. You now know how to configure a website in FTP Voyager, for the purposes of establishing an FTP connection.