Complete FTP series
16. Configuring your website in FlashFXP
This tutorial assumes you already have FlashFXP and have it running on your computer, but not connected to another server.
Now let's learn how to configure our website in FlashFXP.
1) Click Sites at the top of the FlashFXP window.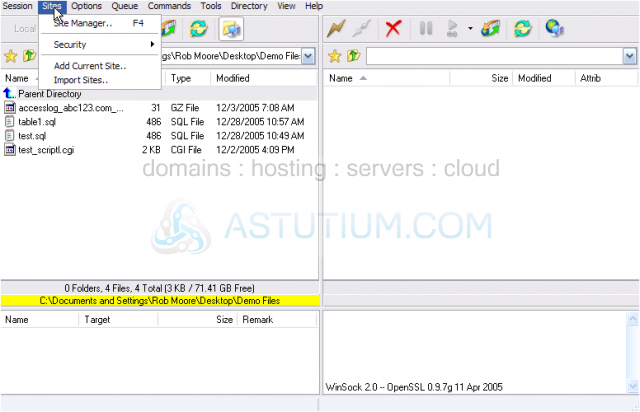
2) Then select Site Manager.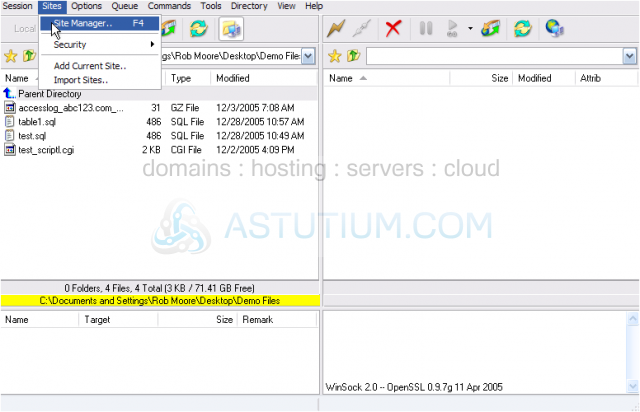
3) The Site Manager window opens up.
To help manage our websites, let's create a new group.
4) Click the New Group button.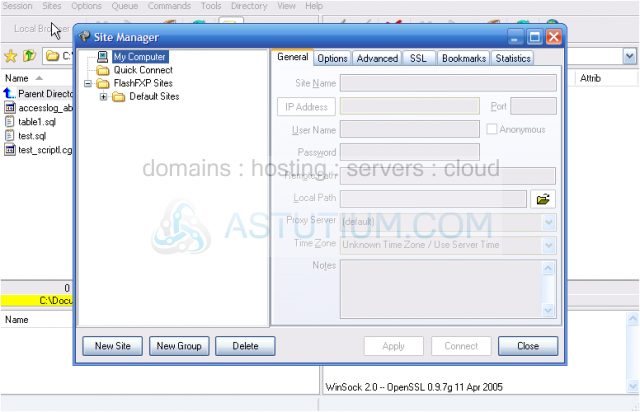
5) Enter a Group name for this new group. Then click OK.
Here is the new group we just created.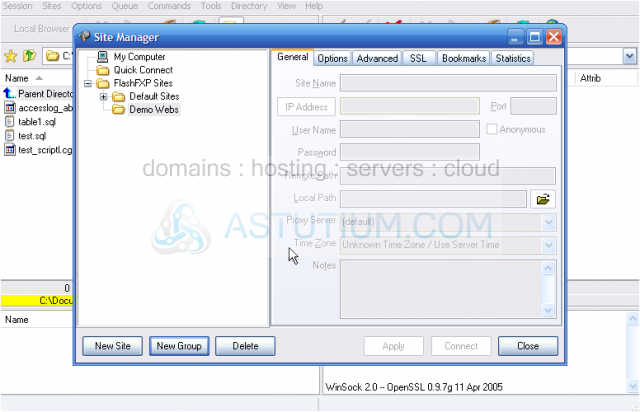
6) Once the new group is selected, click the New Site button.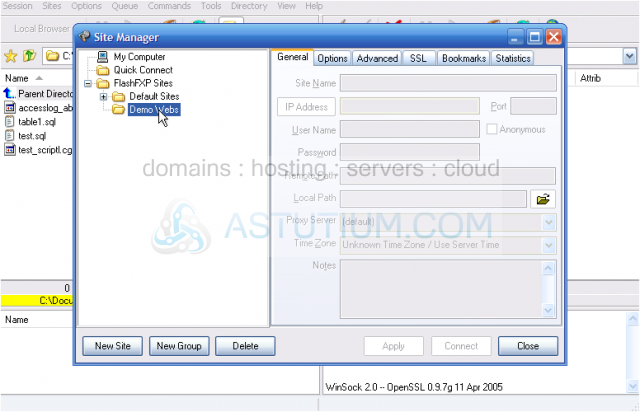
7) Enter a name for the new website. Then click OK.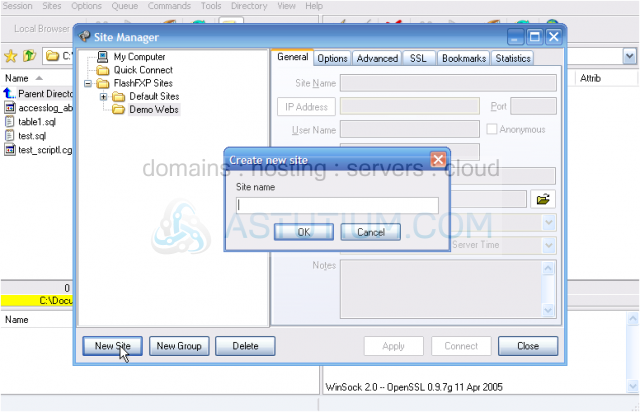
8) The new website name appears here, under the group we created earlier. Type the FTP address of the website here.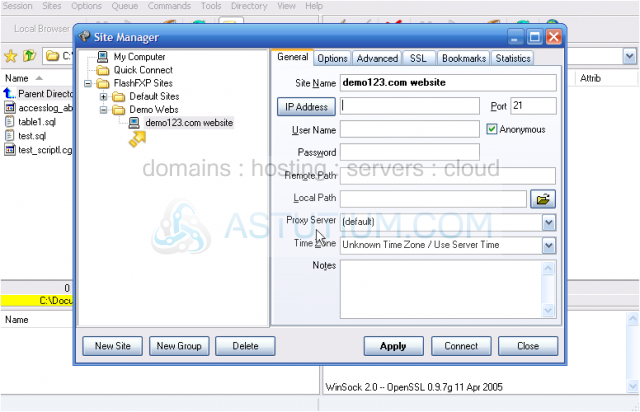
Now we have to fill in the details of our website, so FlashFXP can connect to it via FTP.
Note: If the domain name has not yet propagated, you'll have to enter the website's IP address instead of the domain name. If entering the IP address, do not include "ftp." before it..... just enter the IP address.
9) Enter the username of the website's hosting account here.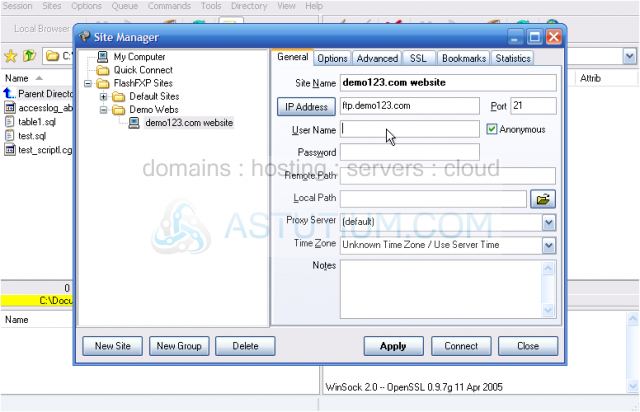
10) Enter the password here.
11) Enter the remote path where your website files should be uploaded within your hosting account.
12) Select the Local Path, which is the location on your computer that you want displayed in the left side window of FlashFXP. Then click OK.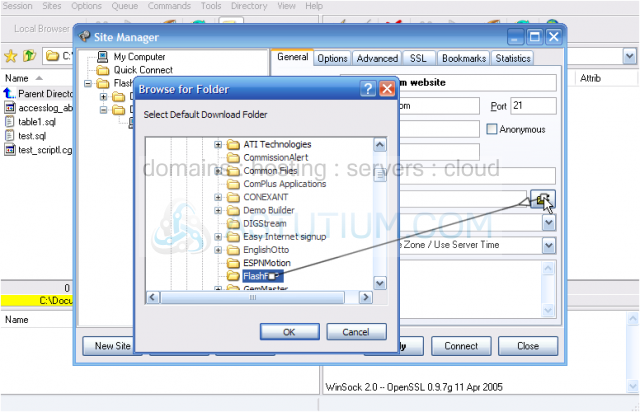
13) Double check to make sure everything has been entered properly.....
14) ..... then click the Apply button. Click Close.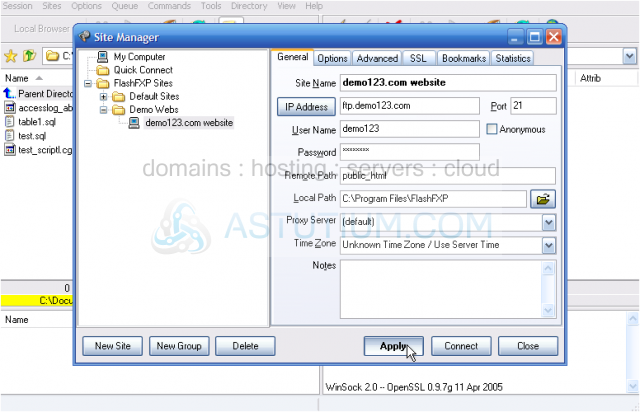
That's it! We've successfully configured our website in FlashFXP.
15) Click the Connect button (looks like a lightning bolt).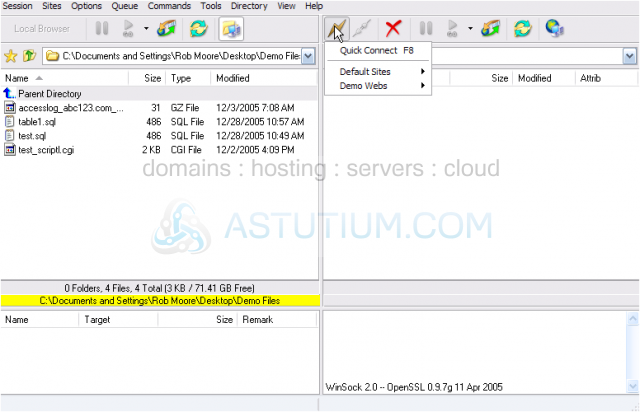
16) Select Demo Webs, the group we created earlier. There is the website we just configured. Clicking on it would initiate an FTP connection.
This is the end of the tutorial. You now know how to configure a website in FlashFXP, for the purposes of establishing an FTP connection.