WHM 11 management series
21. How to change cPanel's branding using WHM
The Branding feature in WHM allows you to make changes to the look and feel of your customers' cPanel accounts. In particular, you can change the logo from cPanel's to your own.
1) Locate the cPanel section of the menu.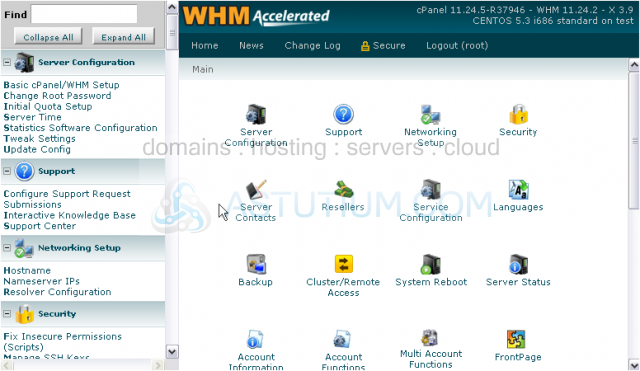
2) Click Branding.
3) Most of the instructions here apply to the bluelagoon theme, which is not available by default; it's inferior to what is available, anyway. So, just disregard all that and scroll down.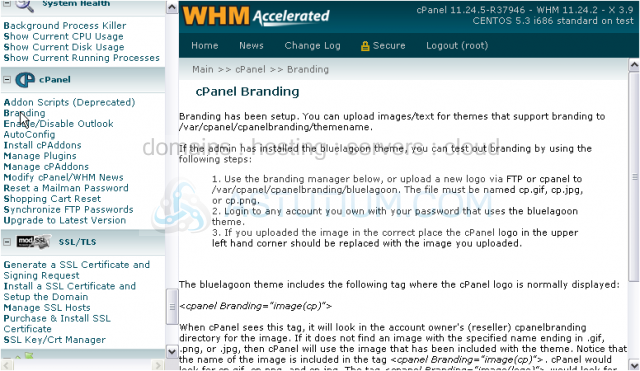
Here is a list of all the themes you can edit. Apart from any custom themes you might have installed, cPanel recommends that you stick with using the x3 theme instead of the older versions, x and x2.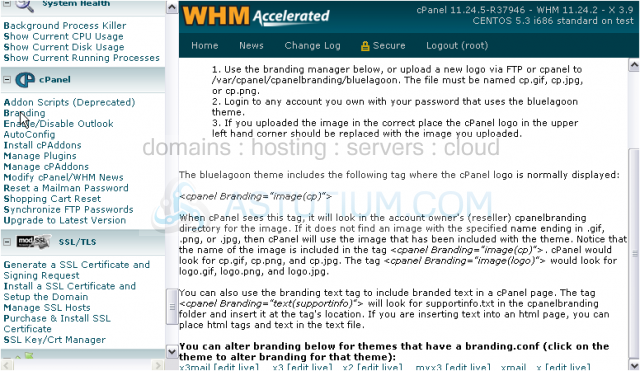
4) Let's edit x3. Click here to be taken to its Branding Editor.
As you can see, this looks just like a cPanel account. On this first page, you'll see a list of the 14 default Branding Styles. There are several actions you can perform on each style.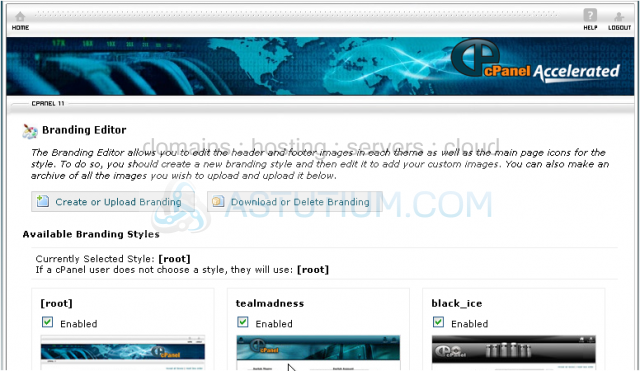
Using the button directly above, you can create a new branding style based on the default, or upload one that someone else has created.
With the button next to that, you can download or delete your existing branding styles.
Each style displays a preview image. Clicking on that image will bring up a full-sized screenshot.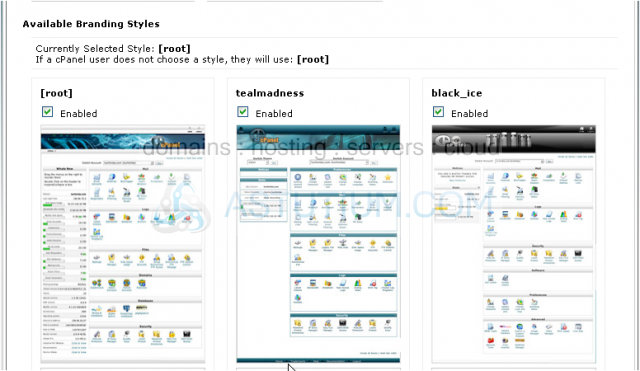
If you wish to disable a branding style, do so with the checkmark above each one.
Currently Selected Style, above, states the style your account is currently set to use in cPanel... the style you see right now, in other words.
Below that, you can see which style will be used when a user doesn't choose a style.
For us, both of these options are set to [root], which refers to the default cPanel x3 branding style.
All the actions beneath each style are the same. You can apply a style to your own account, which isn't very useful as the root user, but would be if you were a reseller. You can also apply a theme to all accounts or set it as the default to use when creating new accounts.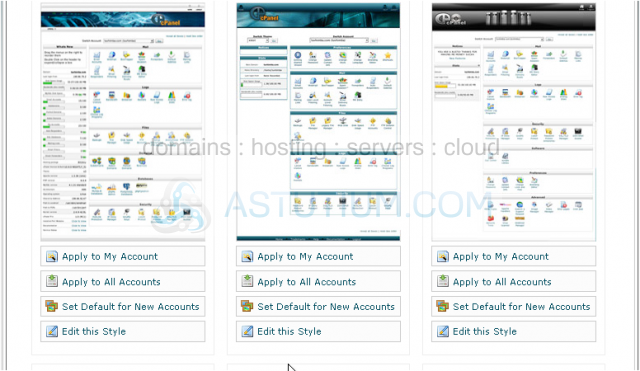
5) Edit a style with this link. Let's edit the default x3 theme.
Here is the Branding Editor for this theme.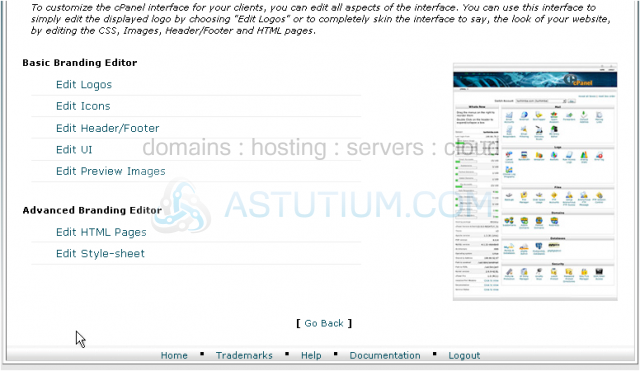
You have the Advanced tools down here that let you edit the HTML and CSS of the theme, but we won't be getting into that in this demonstration.
Then, at the top are the Basic editing tools.
6) Let's start by editing the logo. Click Edit Logos.
7) The first thing you can do in the Logo Editor is drag the logo around and put it wherever you want.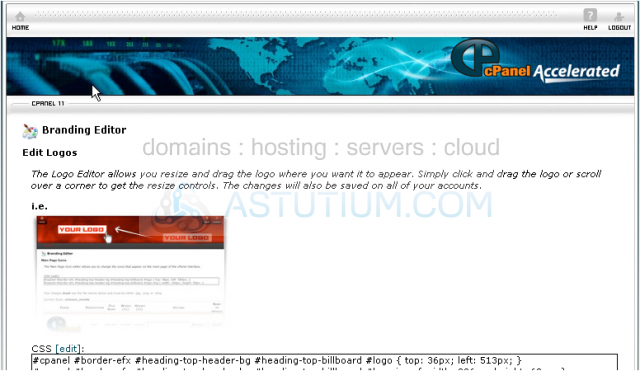
You should notice your cursor changes when you move your mouse over the logo.
8) Click and drag to move the logo.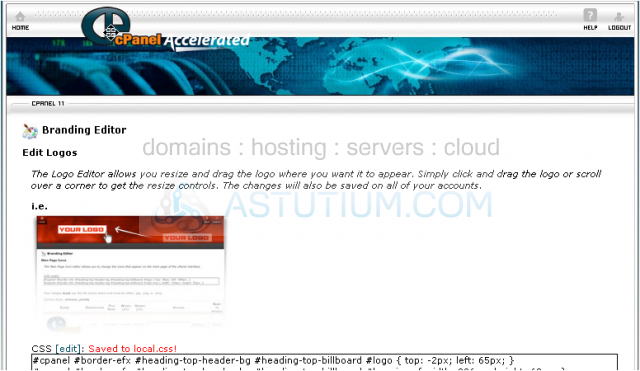
The CSS used to control the logo's position is saved automatically, without any further action on your part.
You should also see it updating in this box as you drag the logo around.
You can't drag the logo below the header area. Or above it, either.
9) We'll put ours back in the default spot.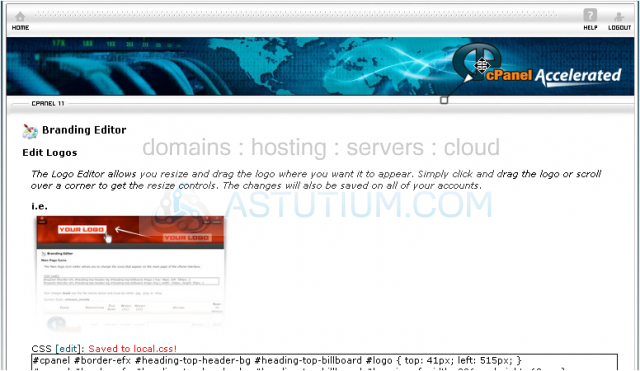
Use the upload form here if you'd like to replace the logo image. For this theme, the logo should be on a transparent background for best results. As stated below, your replacement image must use the filename specified above and have one of three extensions: .jpg, .png, or .gif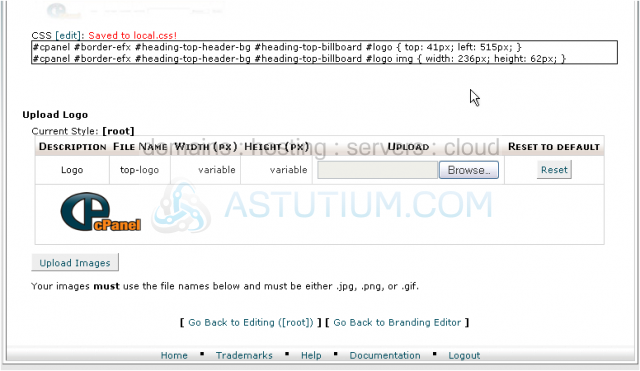
10) First, choose the file here.
11) Then, click Upload Images to submit the form.
12) If you change your logo and wish to change it back later, you can do so with the Reset button here.
13) Return to this style's main editing page by clicking here.
14) Next, let's check out the Edit Icons page.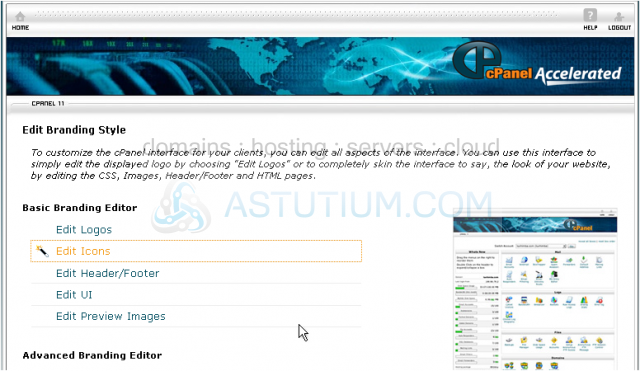
This page is for editing the icons used on cPanel's main page. The table at the top of the page is similar to the one in the logo editor.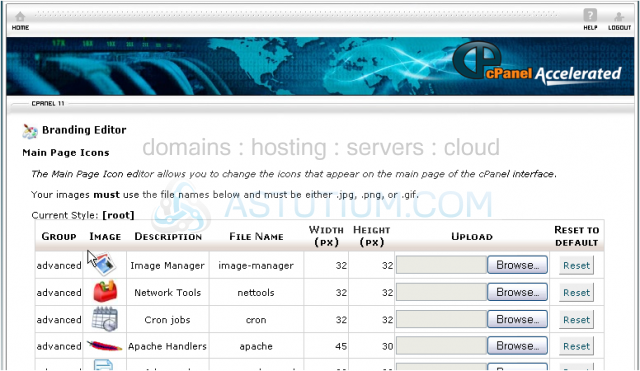
Again, you must use the same file naming scheme for the files you upload here. You should also ensure that your images match the width and height values specified here.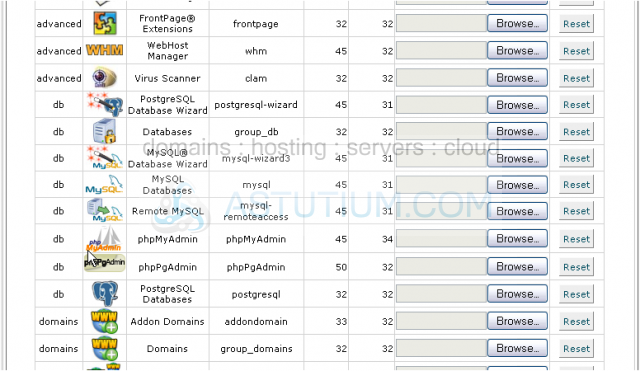
You can also Reset All Icons with this button.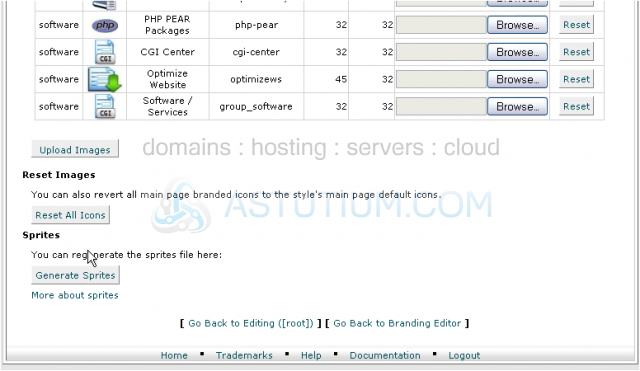
Sprites are used to join all the icons together into one giant image. It's much faster to download one image than it is to download dozens, even if the total size is still the same.
WHM should automatically regenerate the sprites file whenever you change an icon. If it doesn't for some reason, you can force it to do so by clicking Generate Sprites.
15) Go Back again.
16) Edit Header/Footer and Edit UI are exactly the same as the Edit Icons page; they just contain different images used elsewhere by the theme.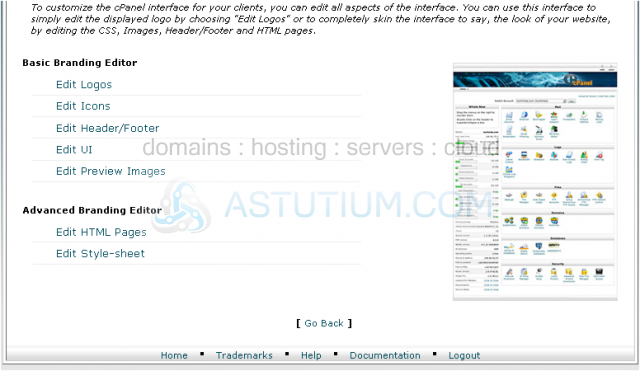
Edit Preview Images allows you to change the images that will be shown when a client picks a style, such as the one to the right. You'll want to recreate these when you're done, so they display an accurate view of your finished style.
17) Close this tab or window and return to WHM.
Clicking [edit live] next to any of the other themes here should bring you to a similar Branding Editor for that theme, but none of them are as powerful as the one you just saw.
The x and x2 themes also have a different editor that just allows you to change the theme's images.
This completes the tutorial. You now know how to use the Branding Editor in cPanel/WHM, with particular focus on the x3 theme.