WHM 11 management series
12. How to manage modules for PHP, Ruby, and Perl in WHM
PHP, Ruby, and Perl are all widely-used web software languages. All of them have at least one system for managing extensions to the core functionality, also known as modules. WHM provides a tool allowing you to interface with each of these extension managers.
1) It's under Software in the menu.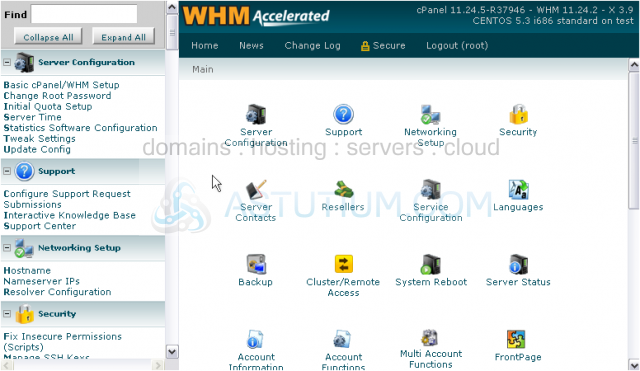
2) Go to Module Installers.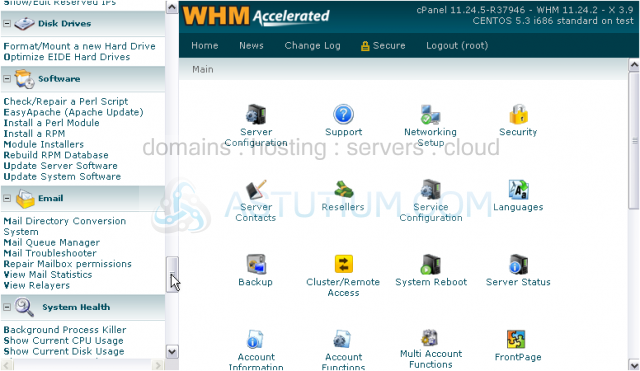
As you can see here, there are four module installers available by default: PECL and PEAR for PHP, Ruby Gems, and the Perl Module Installer. (PECL is pronounced like the word 'pickle'.)
All of these installers are very similar in functionality, so we'll just be showing you the PECL installer.
3) Click Manage.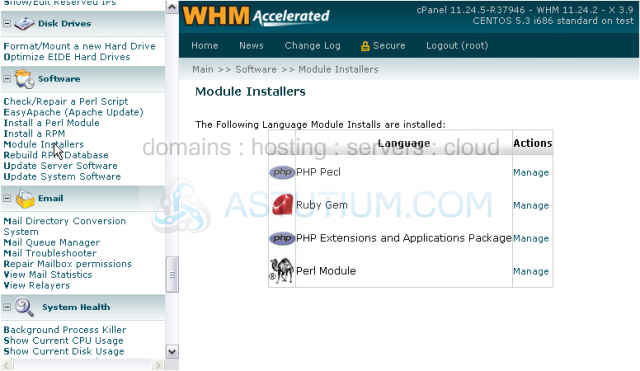
Each time you visit one of these installers, it will check for updates using the respective server.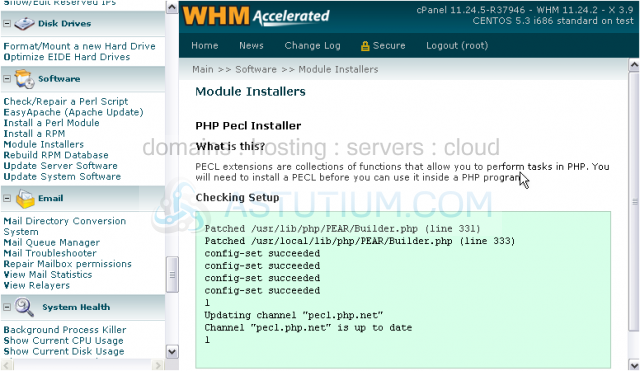
4) Then, you'll be able to Search for or Install an extension by name.
5) For a complete list of available extensions, click this button.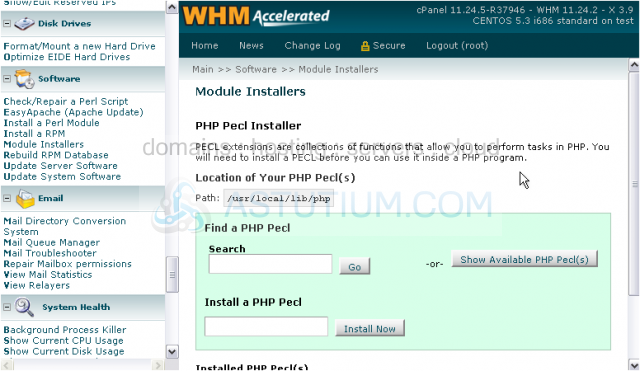
6) Scroll through the list until you've found an extension to install.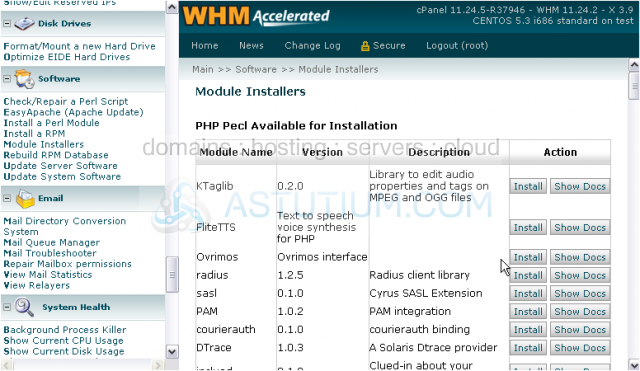
7) Click the appropriate Install button.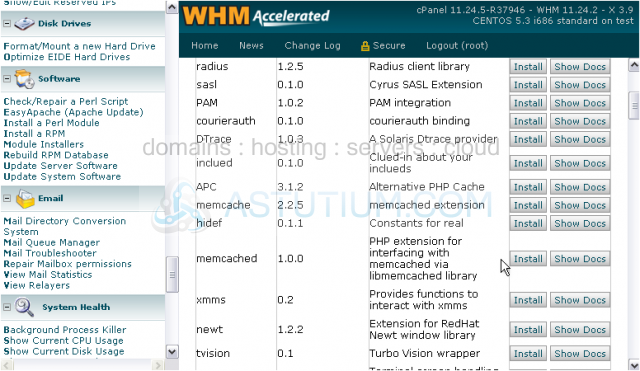
It may take a moment for the necessary file(s) to download.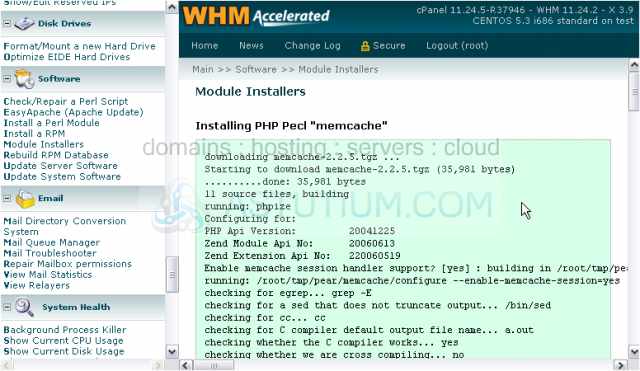
Hopefully, you'll receive a message of success at the end and not an error message.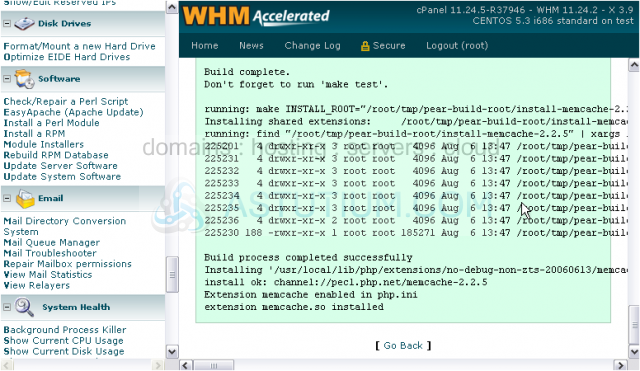
Now that we installed an extension, it shows up in the list of installed PHP PECLs, below.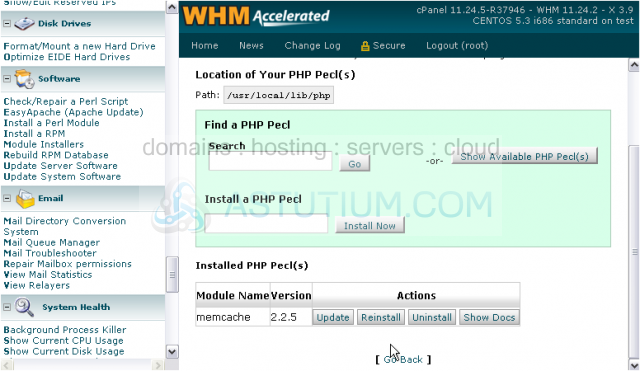
8) Use the buttons below to check for updates, reinstall or uninstall the module, or show its documentation.
As stated, the other three installers look and behave in exactly the same way as the PECL installer. You should have no trouble using those on your own.
This completes the tutorial. You now know how to manage modules for PHP, Ruby, and Perl in WHM.