WHM 11 accounts series
4. How to change an account's disk quota in WHM
While some web hosts want their clients to think disk space is unlimited, it is one of the most finite resources on your system. You must, therefore, ensure that each cPanel account has a reasonable disk quota in place.
1) There are two ways to get to the quota modification page for an account. Go to Account Information.
2) Click List Accounts.
3) Pick out which row in the table represents the account whose quota you wish to change, then scroll right.
4) When you hover over the row, you'll see these edit icons appear beneath a number of options. Click the one under Quota to edit this account's disk quota.
5) Enter a new value, in megabytes. Or, use unlimited. We'll change this quota from 4 GB to 3 GB.
6) Click Change.
Success. The new quota has been set.
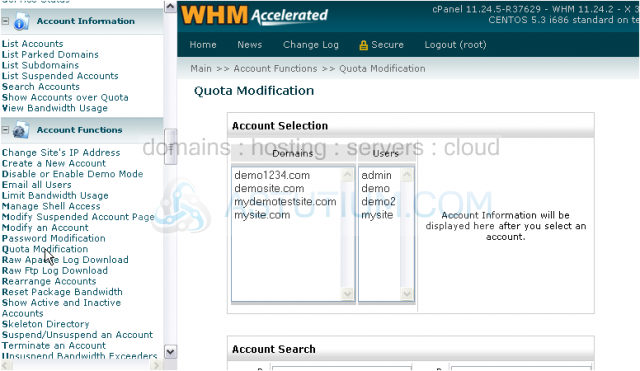
7) For the second way to get to the quota page of an account, click Quota Modification under Account Functions.
8) Select from the list the domain name or user belonging to the account, then submit the page. You'll be taken to the same page you saw earlier.
This completes the tutorial. You now know how to change an account's disk quota in WHM.
If you have trouble getting quotas to work on your accounts, then disk quotas have probably not been set up correctly on your system. View the tutorial in the Setup series for details on how to set up disk quotas, or contact support.