RVSiteBuilder 4 series
12. Creating Forms within a page in RVSiteBuilder
This tutorial assumes you've already logged in to RVSiteBuilder. Now let's learn how to create a form within a page
1) Click the Step 5 Site Content option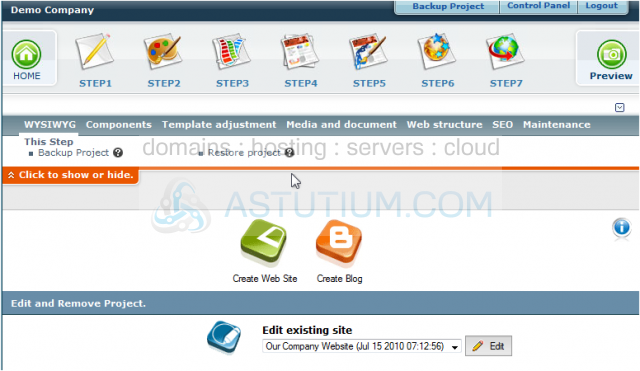
2) Click the WYSWYG icon for the page where you wish to add a form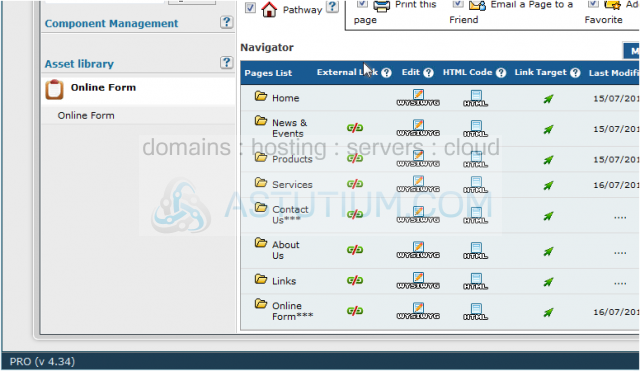
3) This is a full-featured web page editor which is used to edit the various web pages throughout your website, and is where you can insert forms. First, place the cursor in the location you wish to add a form...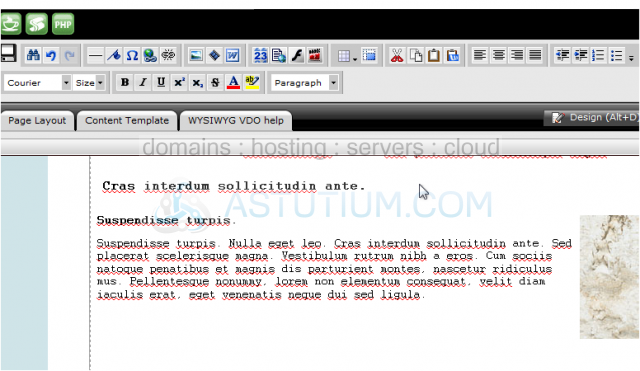
4) Then click the Forms icon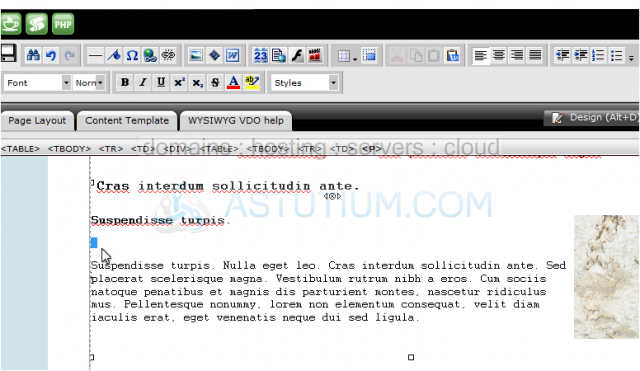
5) From here you can choose one of the pre-made form templates, or choose to create your own custom form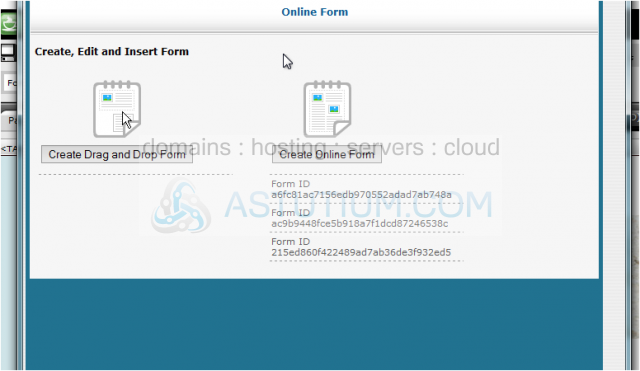
6) Here we can see a preview of what our form will look like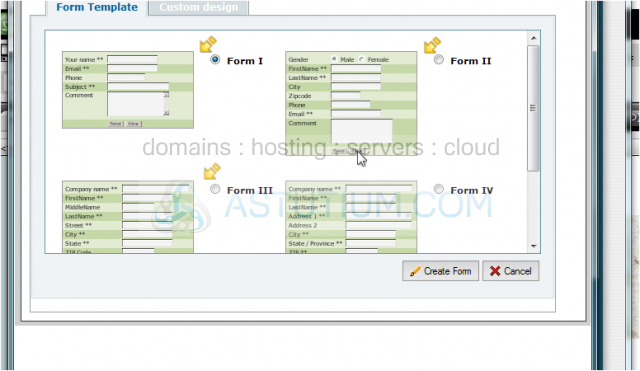
7) From here we can change certain properties that define the way our form looks.... similar to table properties. Click the Next button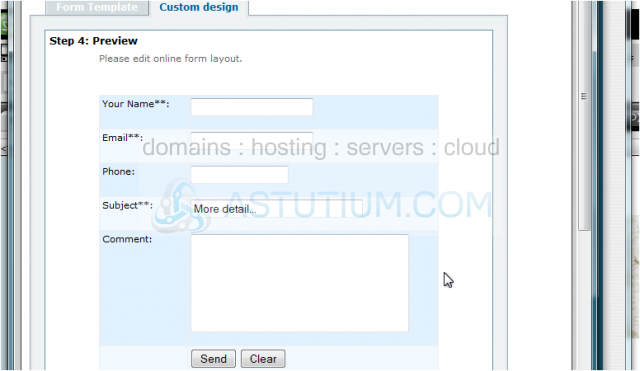
8) Now we must enter the email address where the form submissions are to be delivered... and an Email Subject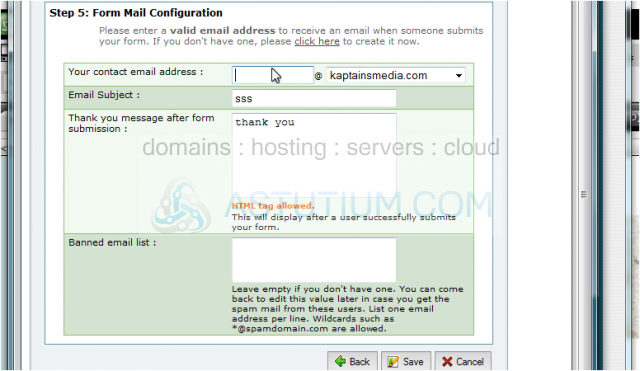
9) Then enter a Thank You message... then click Save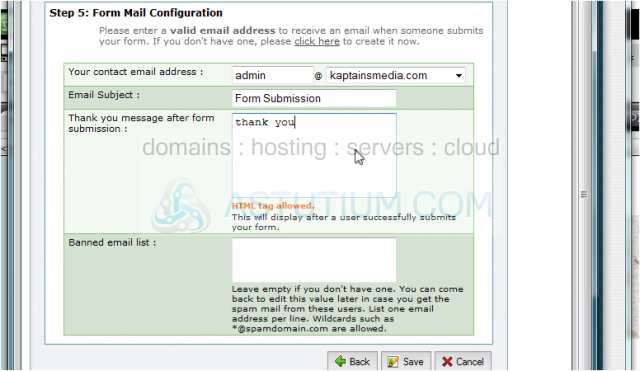
10) Now select the new form you created and click Insert Form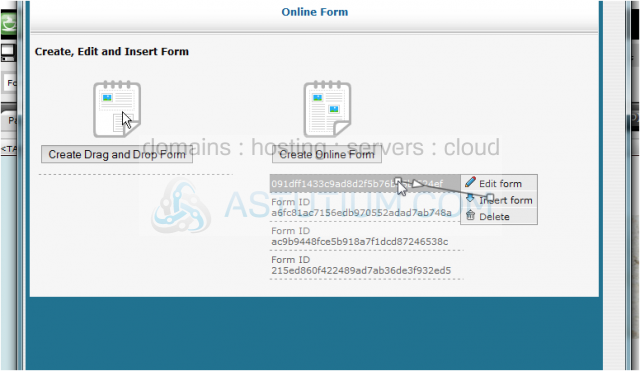
11) When finished making your changes, be sure to click this Save icon in the top left.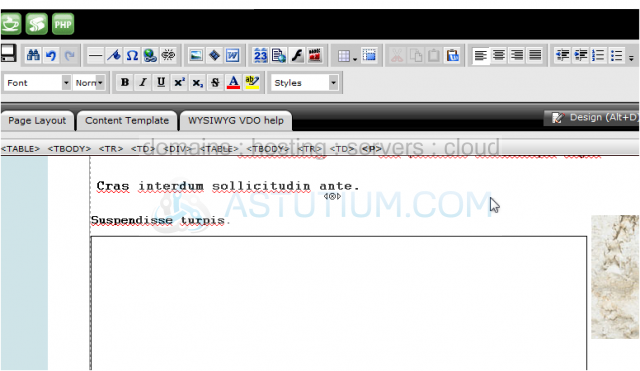
12) To see what our new website looks like, click Site Preview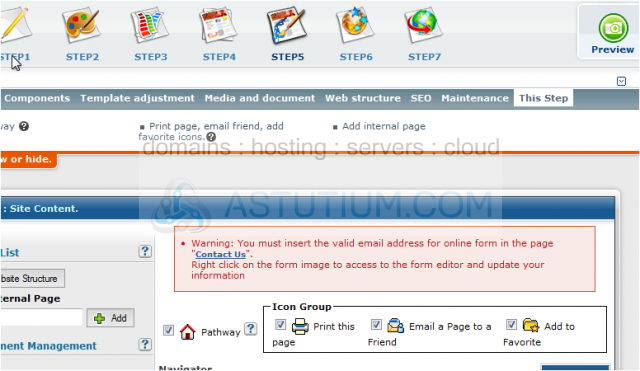
13) Here it is! Our newly created Online Form, embedded within the Services page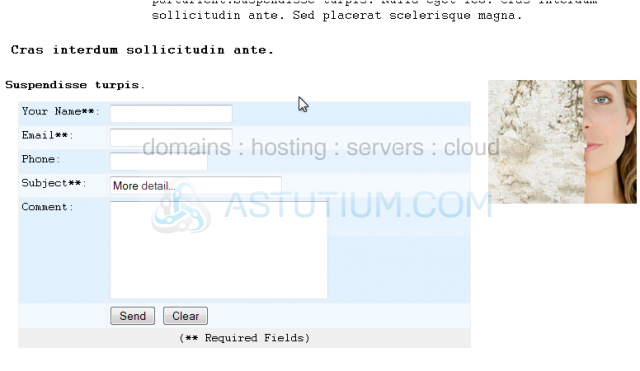
This is the end of the tutorial. You now know how to create forms within pages in RVSiteBuilder. Remember that you have to publish any changes you make for them to take effect