RVSiteBuilder 4 series
9. Creating hyperlinks in RVSiteBuilder
This tutorial assumes you've already logged in to RVSiteBuilder. Now let's learn how to create hyperlinks
1) Click the Step 5 Site Content option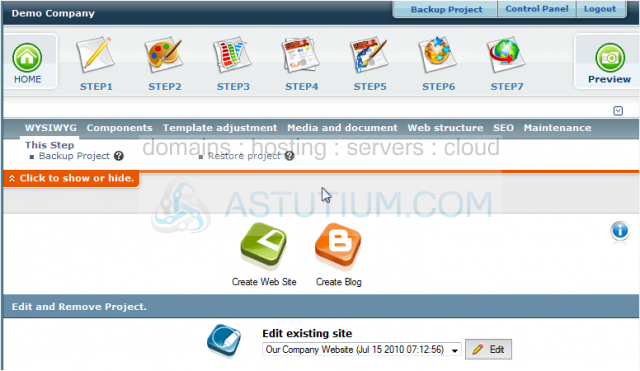
2) Click the WYSWYG icon for the page you wish to edit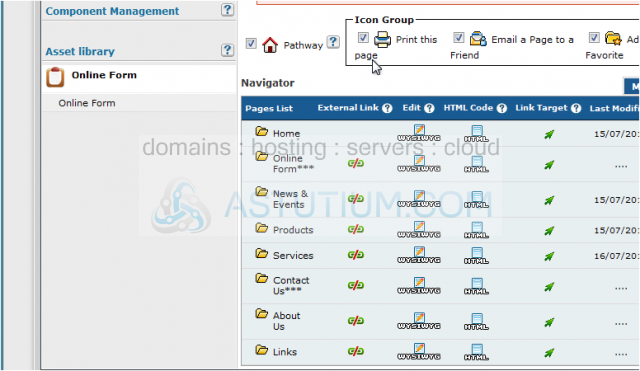
3) This is a full-featured web page editor which is used to edit the various web pages throughout your website, and is where you have to create and edit your hyperlinks. First, select the text you wish to assign a hyperlink to...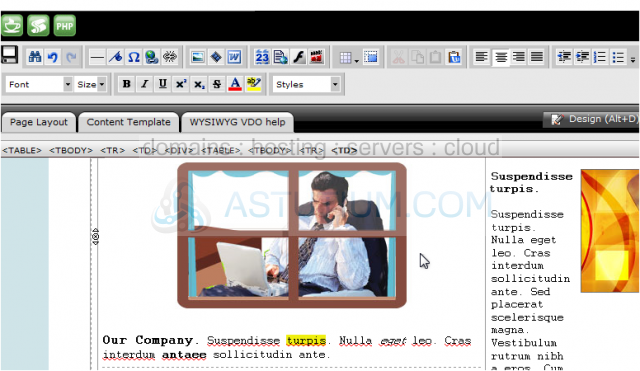
4) Then click the hyperlink icon in the top row.
5) This is the hyperlink window where you can define several types of hyperlinks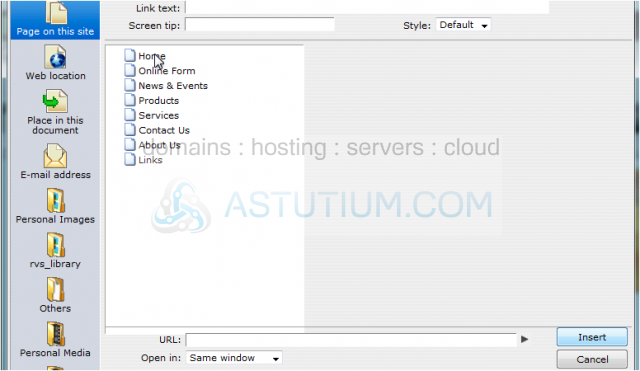
6) This is where you would define hyperlinks that jump to another place within the same web page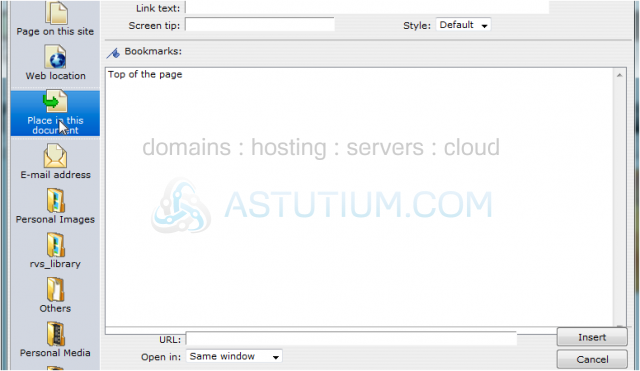
7) This is where you would define hyperlinks that send an email to a pre-defined address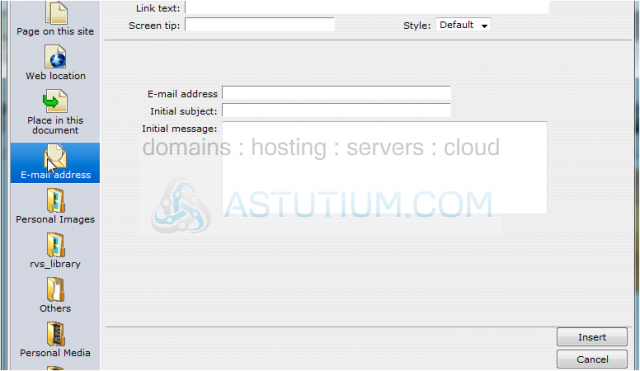
8) This is where you would define internal hyperlinks that jump to other pages within your website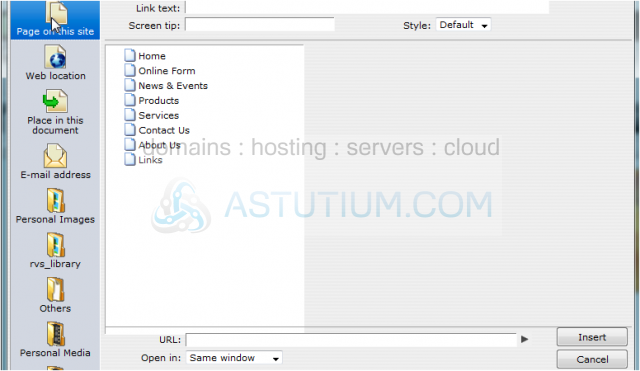
9) Finally, this is where you would define external hyperlinks that jump to other websites
10) Let's setup an external hyperlink..... enter the URL of the website here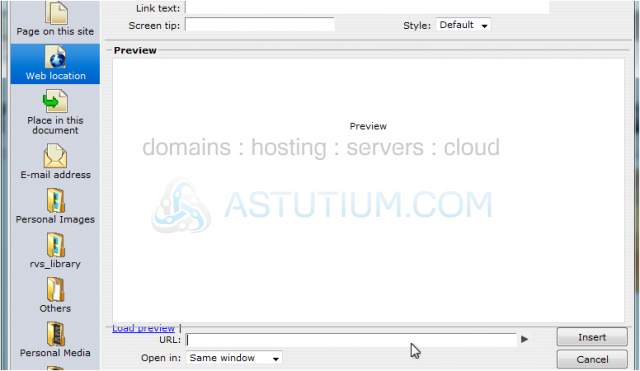
11) Click here to ensure you entered the hyperlink correctly.... it will launch a preview of the website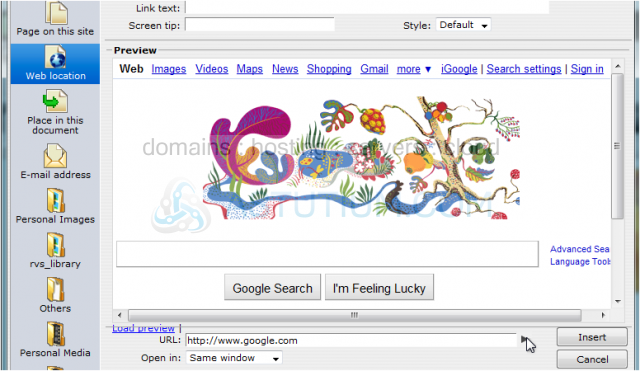
12) Enter a title for the hyperlink... then choose how you want the hyperlink to be displayed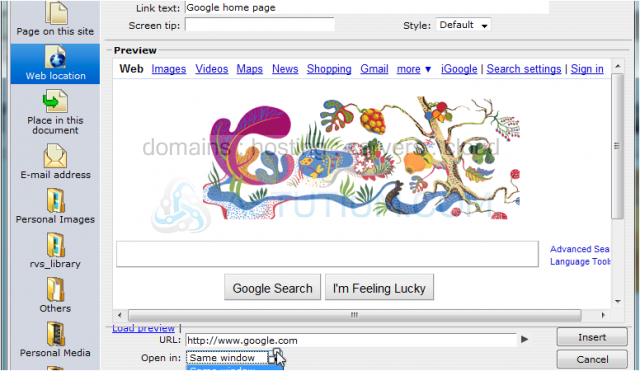
13) That's it! The new hyperlink has been setup, and can be seen here
14) You can also create hyperlinks for images so that when an image is clicked, the user is taken to another page or website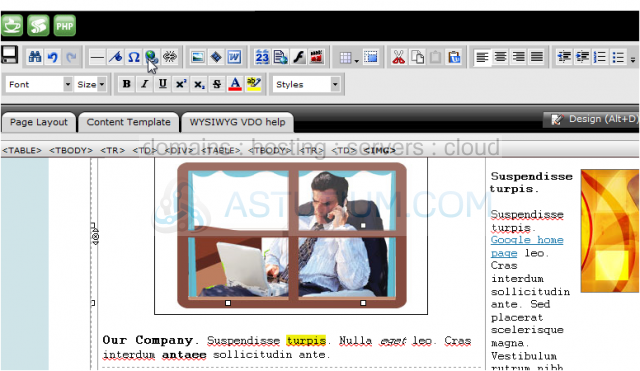
15) To remove a hyperlink, click the Remove Hyperlink icon.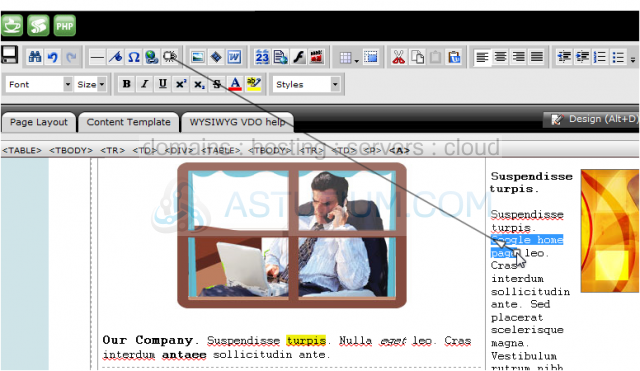
16) When finished making your changes, be sure to click this Save icon in the upper left corner.
This is the end of the tutorial. You now know how to create hyperlinks in RVSiteBuilder. Remember that you have to publish any changes you make for them to take effect