Direct Admin end-user series
15. Managing MySQL databases with PHPMyAdmin
This demo assumes you've already logged in to Direct Admin
Now let's learn how to use PHPMyAdmin to manage MySQL databases
1) Click the MySQL Management link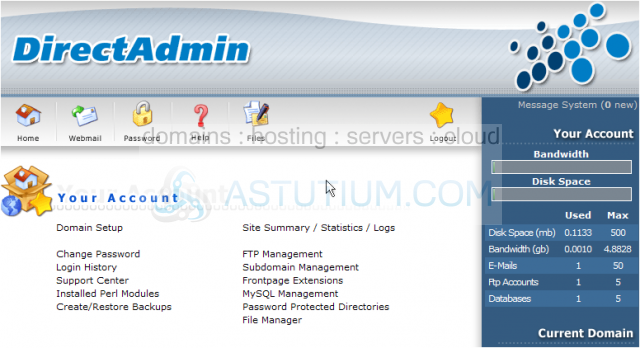
2) Click the phpMyAdmin link
3) Enter your system username and password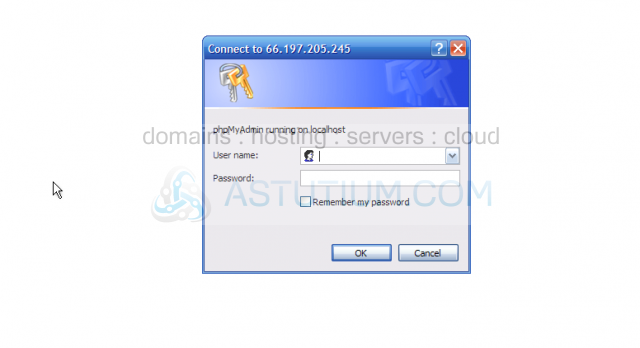
4) Then click OK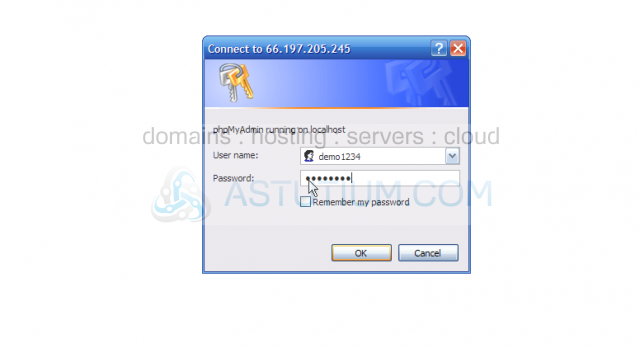
This is the PHPMyAdmin main screen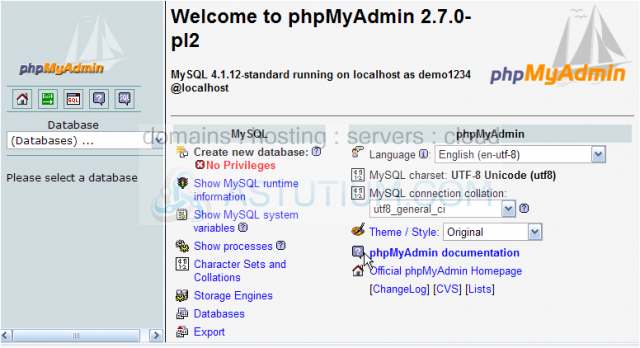
5) From this drop-down menu, let's choose a database to manage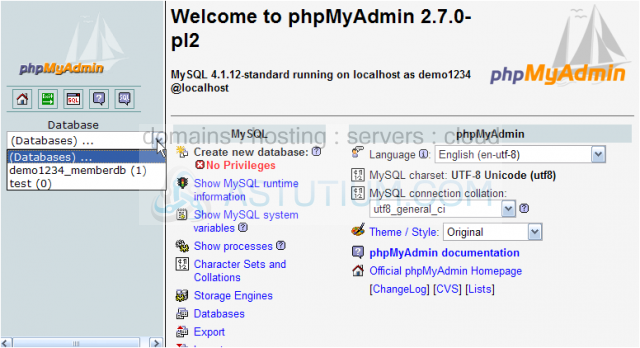
There are currently no tables in this database, as indicated here
6) Click the SQL link
You can run SQL queries here, but we're not going to do that now.....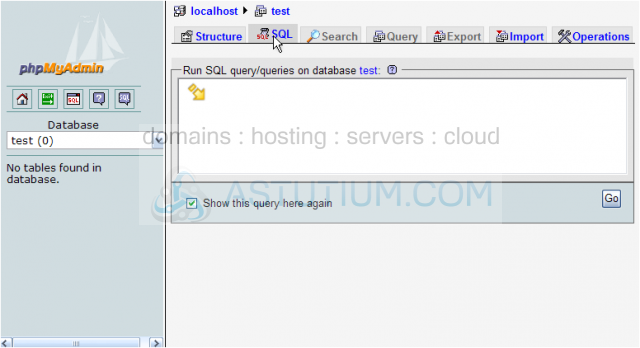
7) Click the Import link
8) Then click Browse so we can search for a database to upload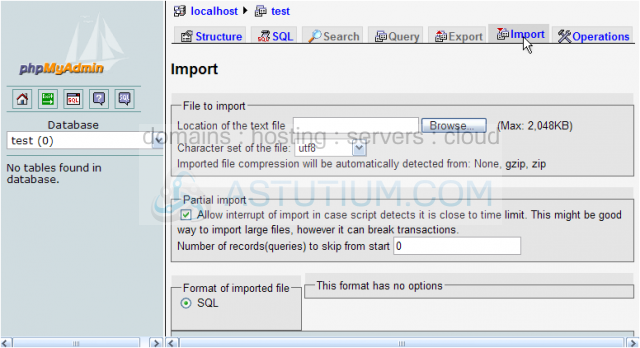
9) Let's upload table1.sql from our local computer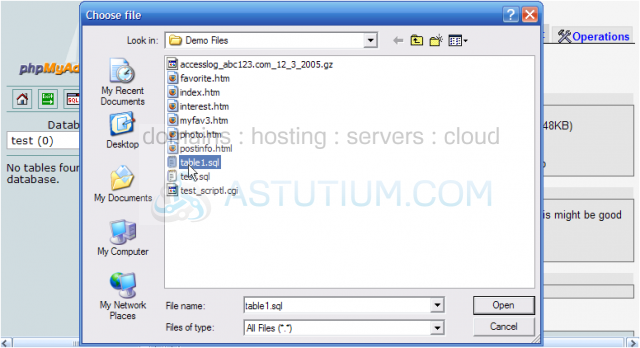
10) To complete the upload, click Go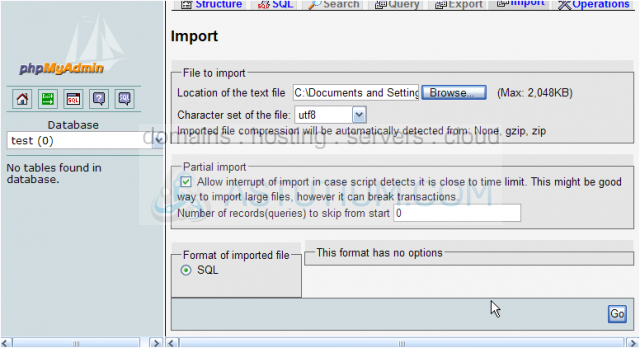
We've successfully uploaded the table called table1.sql to the test.sql database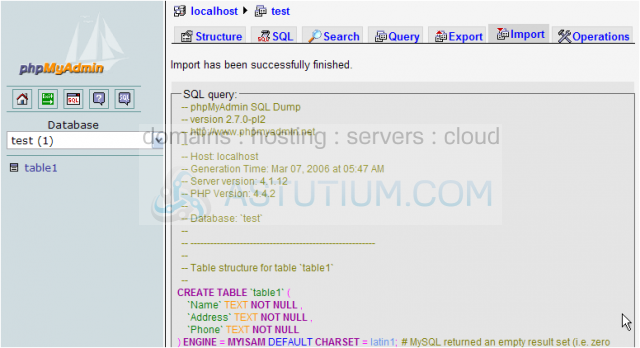
11) Click the table1 link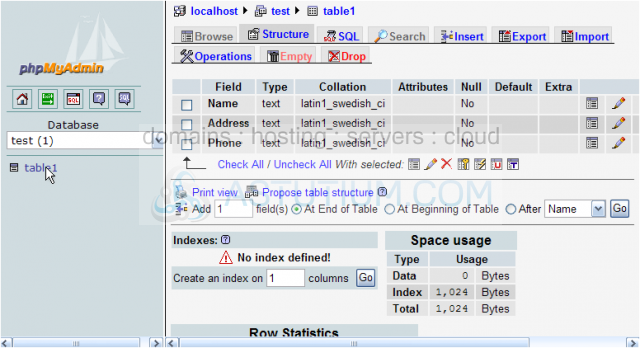
On this page you can see all the details of table1 within the database test.sql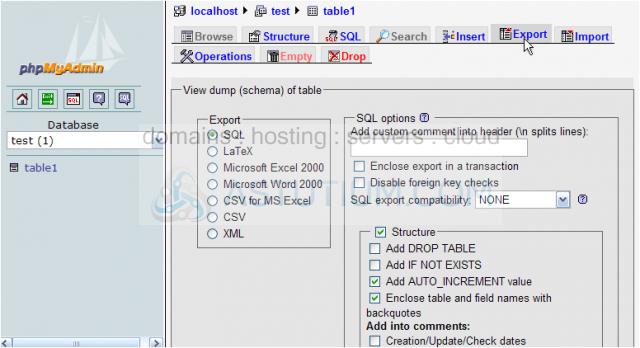
Now let's learn how to save the table1 table to our personal computer
12) Click the Export link
13) Select the Save as file check box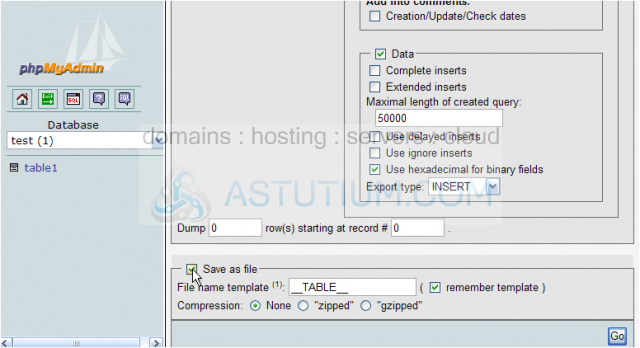
14) Then click Go
15) Click Save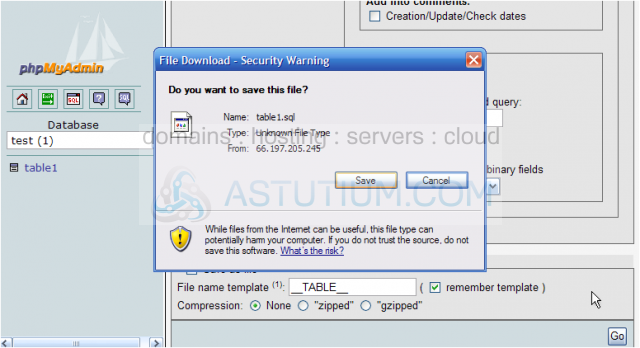
16) Click Save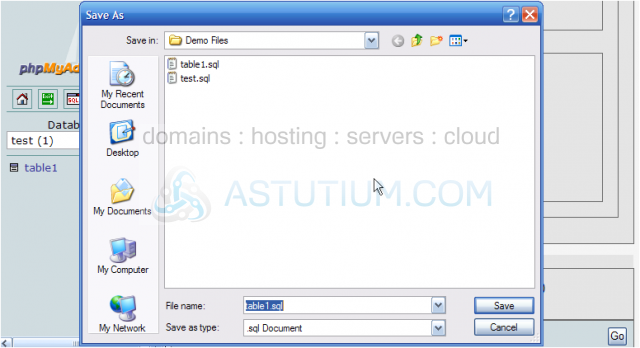
17) Click Yes to re-write the old table1.sql file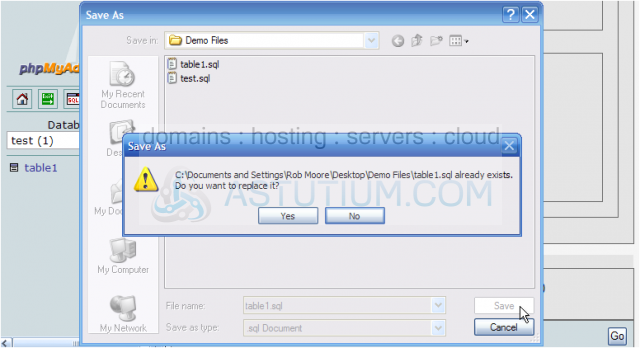
18) Click Close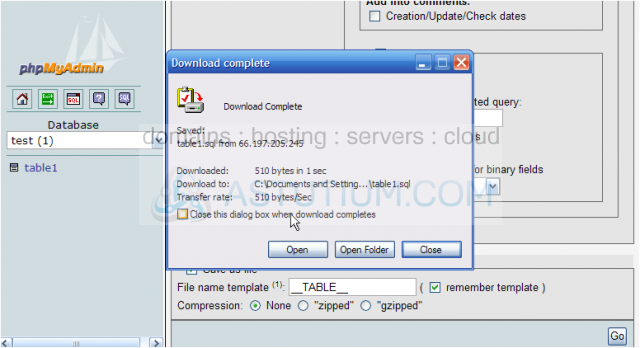
We've just saved table1 to our computer
If at any time you need help with using PHPMyAdmin or MySQL, click on one of these help links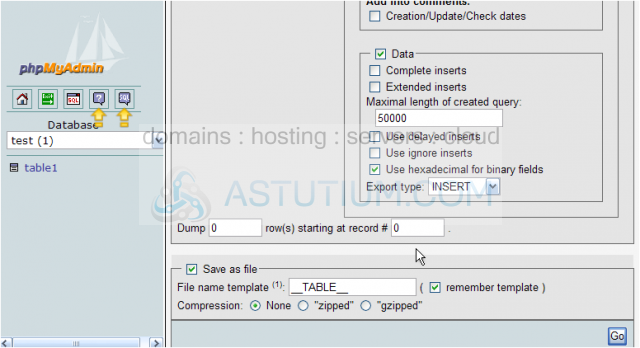
19) Click the Exit button
We've successfully signed out of PHPMyAdmin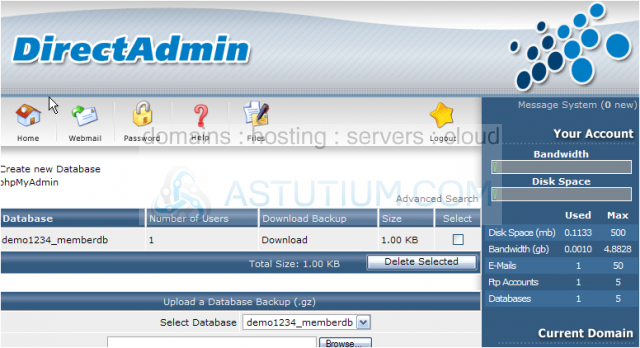
This is the end of the tutorial. You now know how to use PHPMyAdmin to manually manage a MySQL database