DotNetPanel reseller series
6. How to create hosting plans in DotNetPanel
This tutorial assumes you have already logged into your DotNetPanel reseller control panel
Now let's learn how to create Hosting Plans
1) Click Hosting Plans
2) Click Create Hosting Plan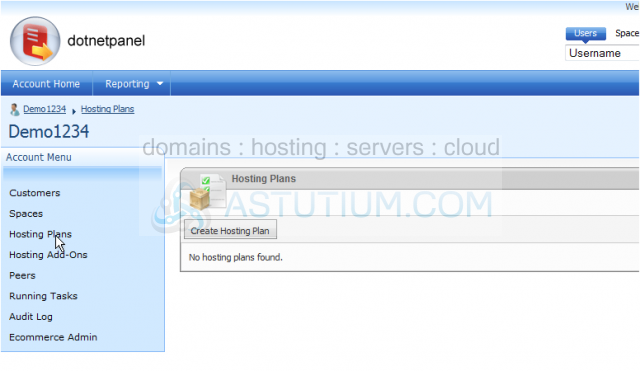
Scroll Down
3) Enter the Plan Name here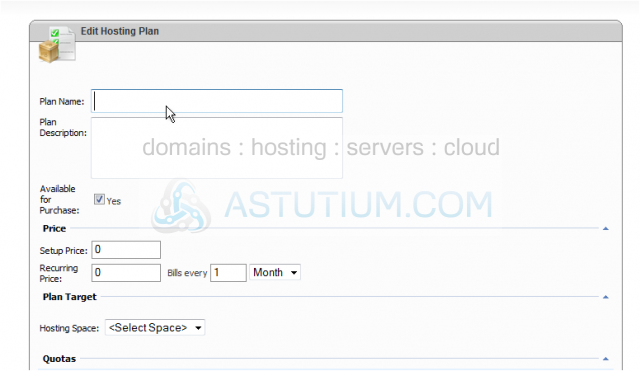
4) Enter the Plan Description here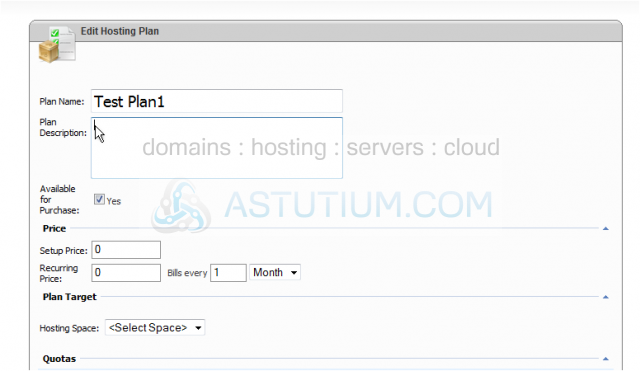
5) Select Yes to charge for this plan
6) Enter the Setup Price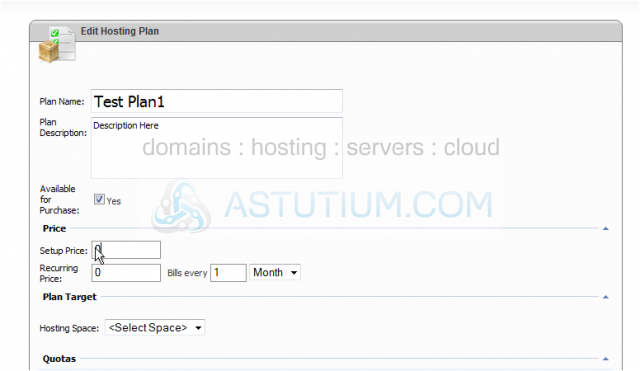
7) Enter the Recurring Price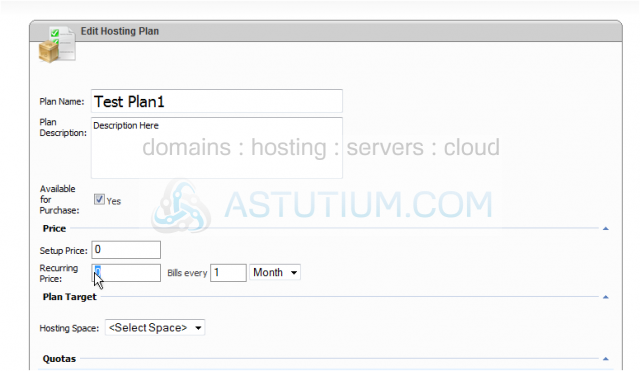
8) Now select the recurring term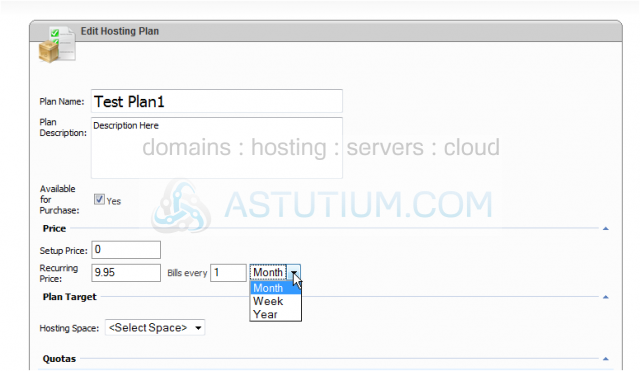
9) Select the Hosting Space that will use this plan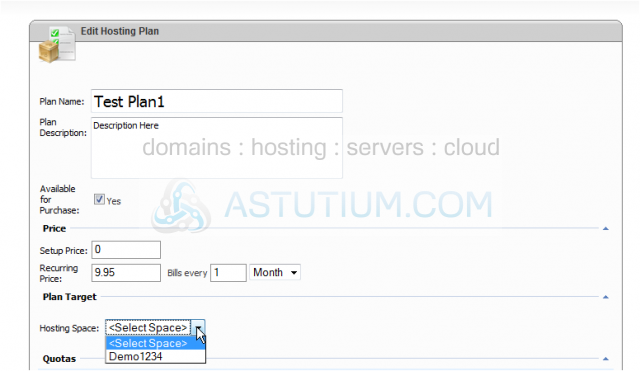
10) Click here to select the Quotas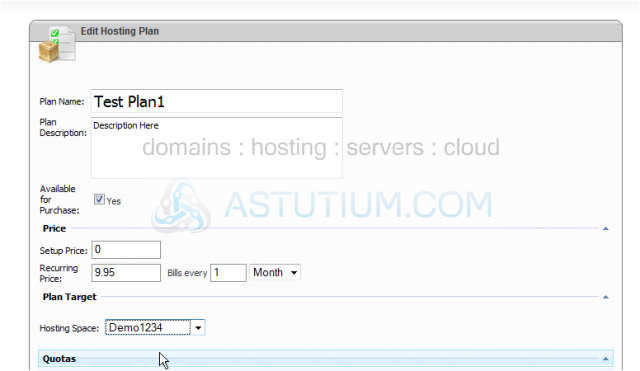
Scroll Down
11) All of the Quotas are now listed below. Go through each quota and select the settings you prefer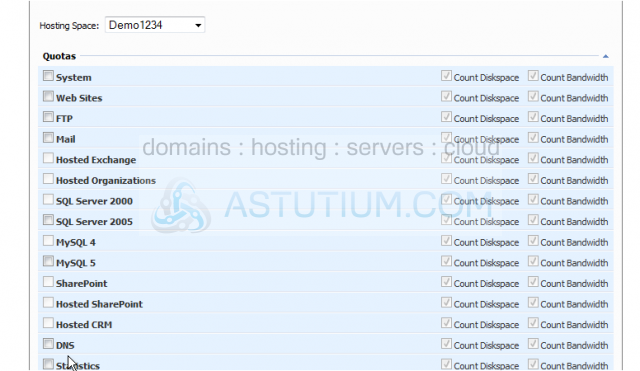
Once finished, Scroll Down
Note: Your Quotas list may look different, depending on the server settings
12) Click Save to create the hosting plan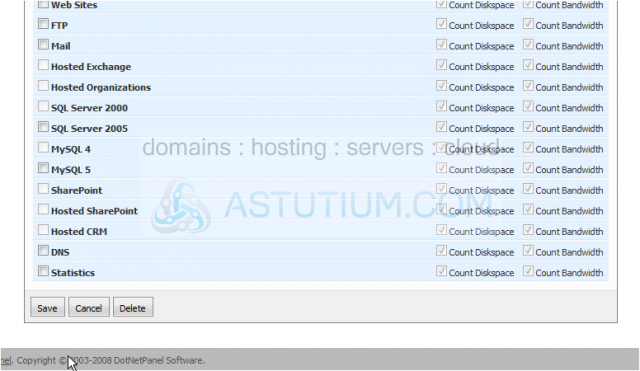
Scroll Right
The plan name is listed here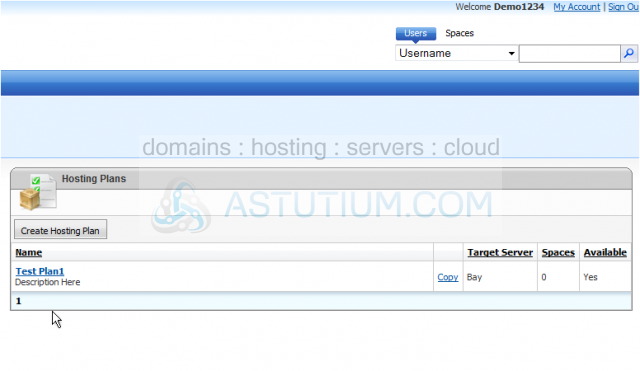
Copy allows you to copy this plan (great when creating multiple plans)
The target server is listed here
The amount of spaces using this plan is shown here
... and plan availability is listed here
Your Hosting Plan has been created.
This is the end of the tutorial. You now know how to create hosting plans through your reseller account