DotNetPanel end-user series
3. How to use the Application Installer in DotNetPanel
This tutorial assumes you are already logged in to DotNetPanel
Now let's learn how to use the applications installer
1) Click on the plan you want to add an application to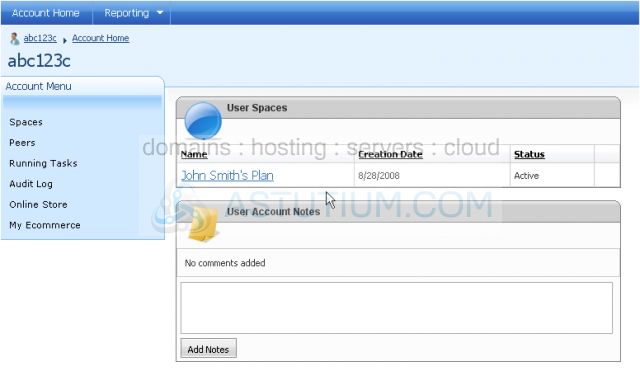
2) Then click Applications Installer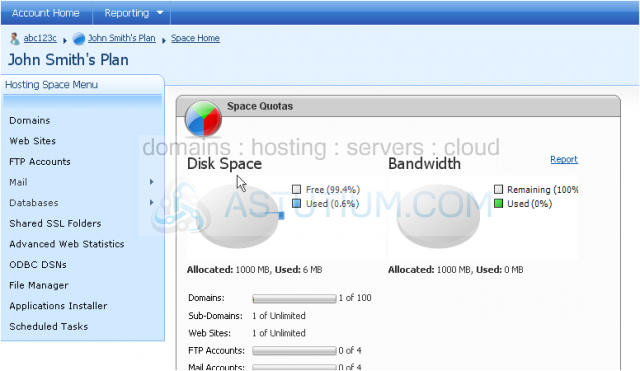
This page will show you all the applications that are available to install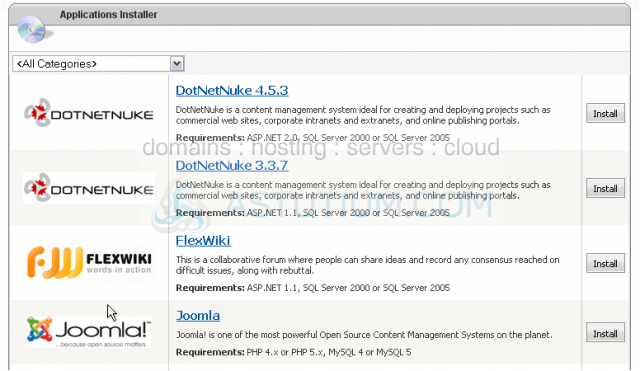
3) You can select a specific category from the list
4) Choose the application you wish to install, then click Install next to it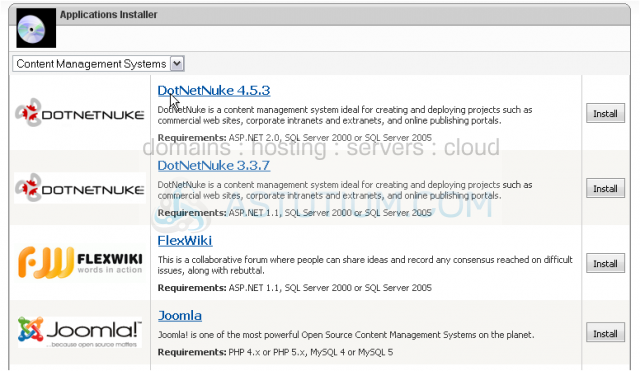
You can view more information about this application here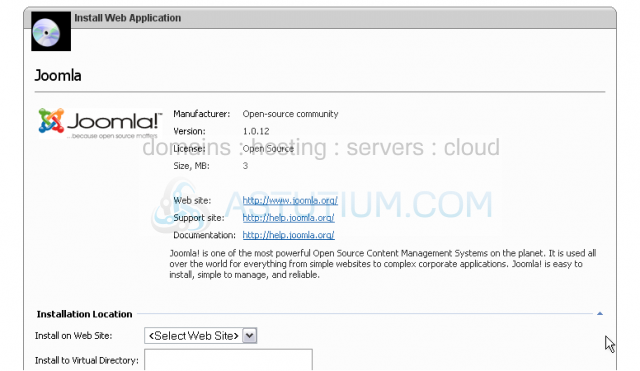
Scroll down
5) Select the location where you want this application installed
6) Select the database type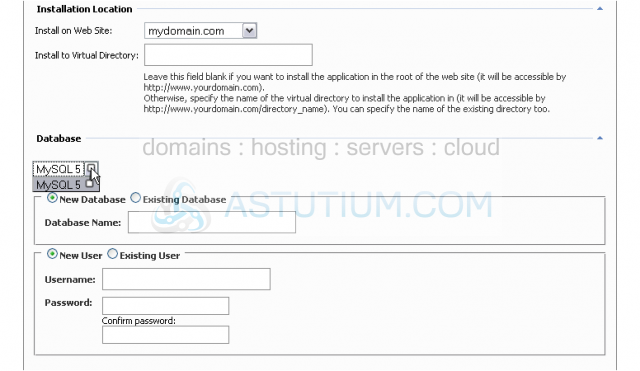
7) You can create a new database or use an existing one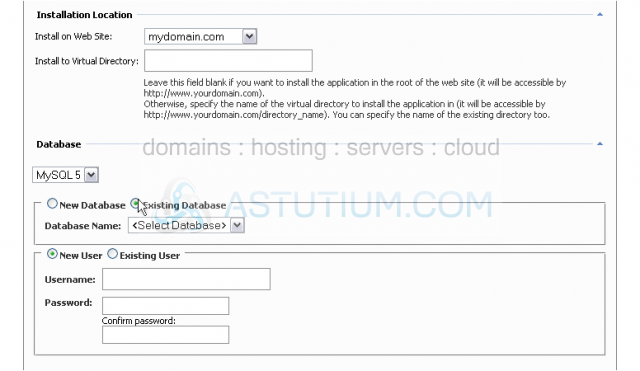
8) Select the database from the list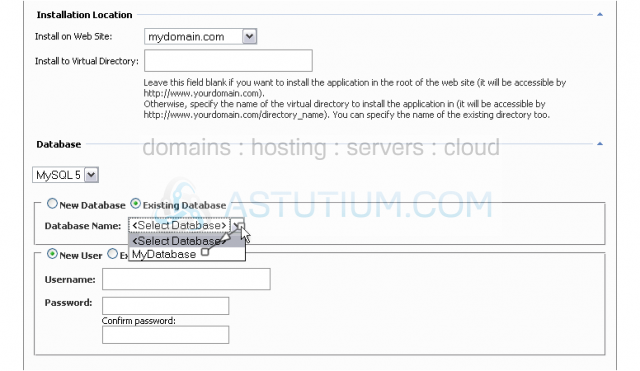
9) Enter a username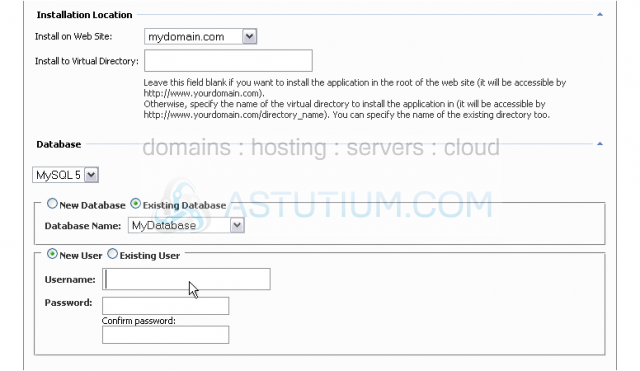
10) Enter a password
11) Re-enter the password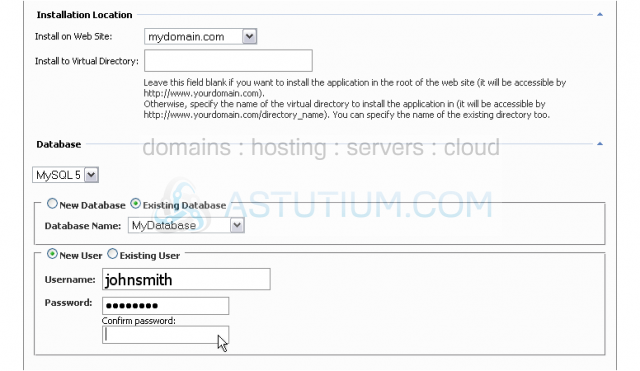
Scroll down
12) Enter a username for your new site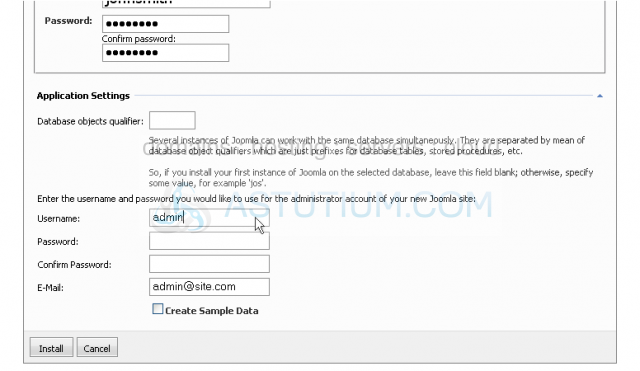
13) Enter a password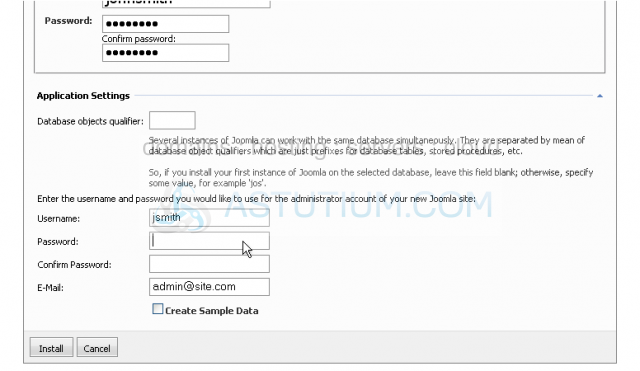
14) Re-enter the password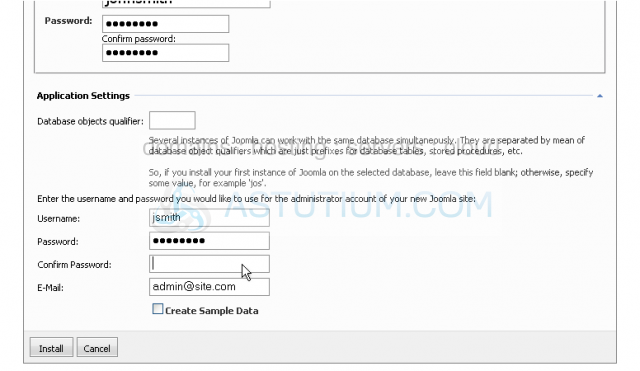
15) Enter your email address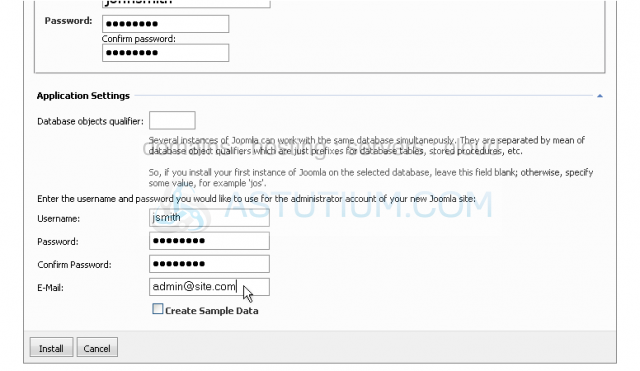
16) Click Install
Success! The application has been installed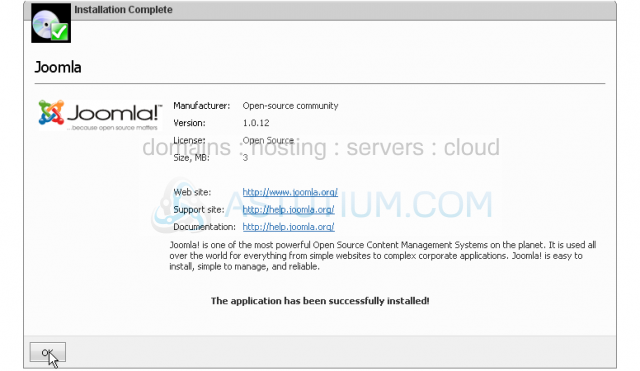
This is the end of the tutorial. You now know how to use the applications installer in DotNetPanel