DotNetPanel end-user series
2. How to add Scheduled Tasks in DotNetPanel
This tutorial assumes you are already logged in to DotNetPanel
Now let's learn how to add Scheduled Tasks
1) Click on the plan you want to add a scheduled task to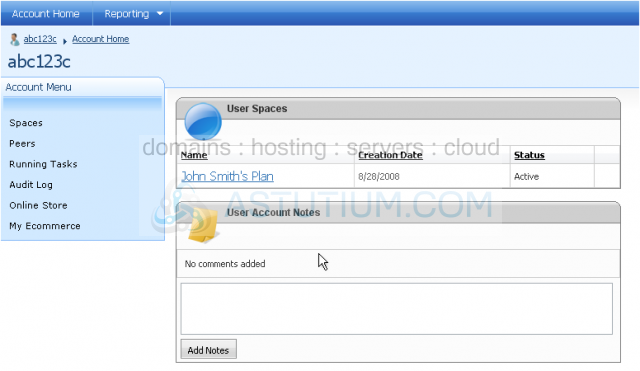
2) Then click Scheduled Tasks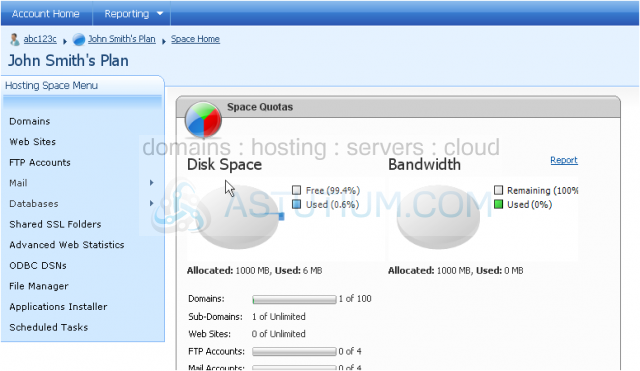
3) Click Add Scheduled Task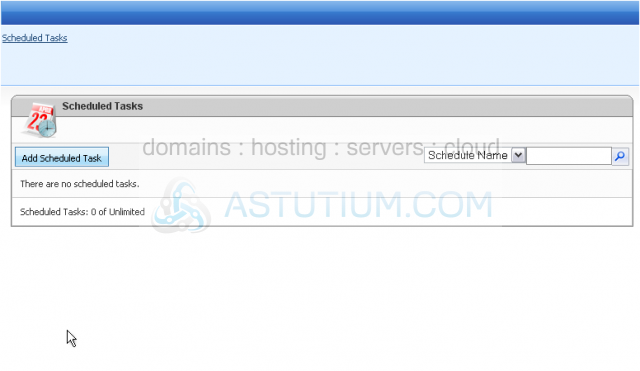
4) Enter a name for your new task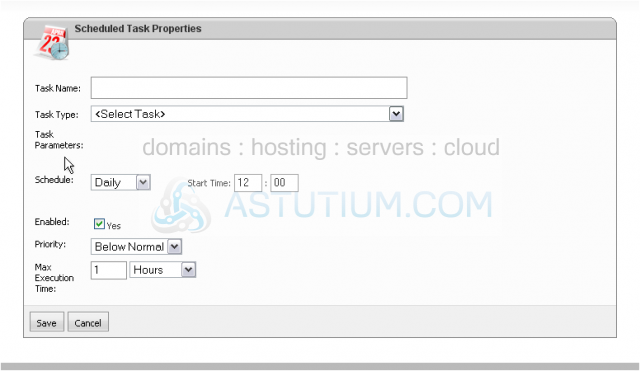
5) Select the task type from the drop-down menu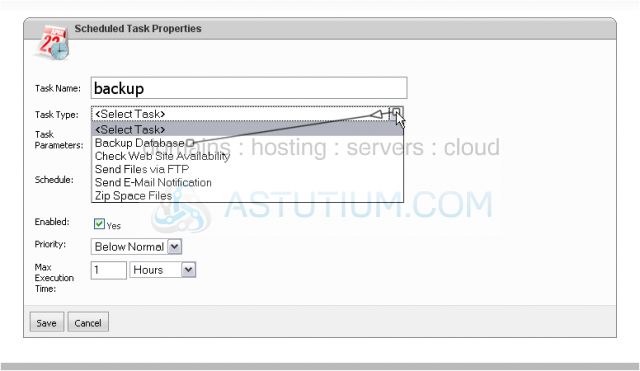
Depending on the task type that you select, you may have different parameters
6) Select the database type
7) Enter the database name
8) Select how often you want this task to run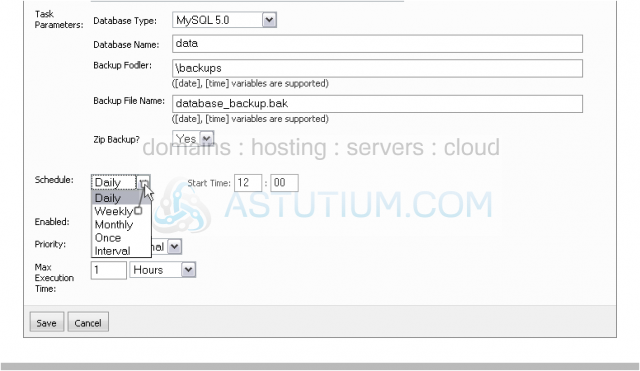
9) You can also choose the start time, whether this task is enabled, the priority, and the maximum execution time
10) When you are finished, click Save
Success! Information about your added task appears below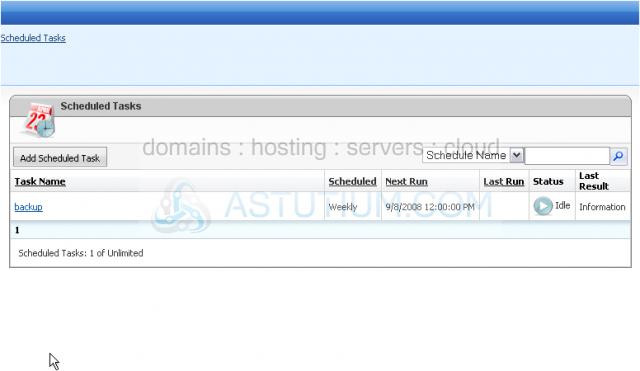
This is the end of the tutorial. You now know how to add a scheduled task in DotNetPanel