H-Sphere 3.x end-user series
9. How to backup and restore your website in H-Sphere
This tutorial assumes that you've already logged into your H-Sphere control panel
Now let's learn how to create a backup of your website and restore it if necessary from within H-Sphere interface
1) Click Domain Backups icon here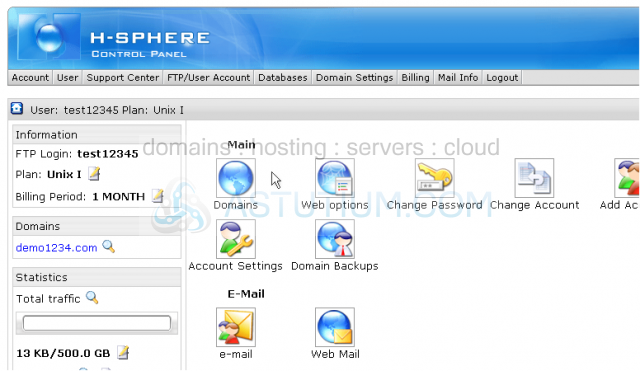
Scroll down
Let's create a new backup of our website 'demo1234.com'
2) Be sure to select the correct domain name here if you have more than one domain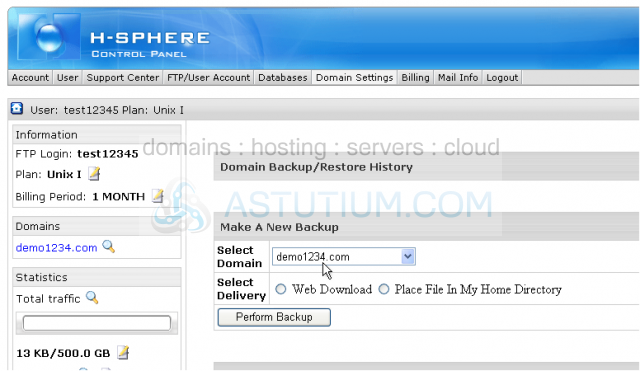
3) Let's choose Web Download option here which will allow you to save your backup file on to your local PC from this page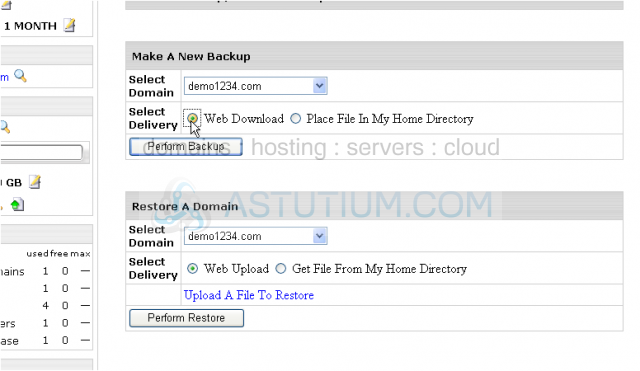
4) Then click Perform Backup button
That's it! From here you may see that the backup process has been started and will be completed shortly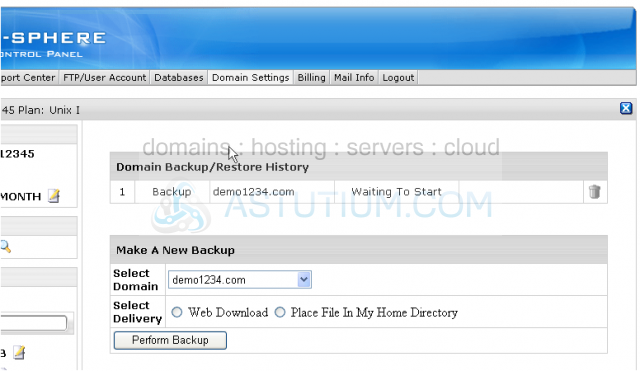
5) Let's create a backup file in a different way as well...click this option here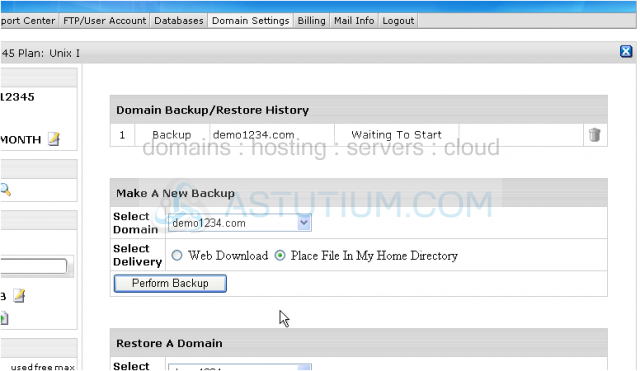
You may also place the backup file in your home directory and then download it through FTP. You may check the backup file in your WebShell file manager in this case
6) Then click Perform Backup
In the meanwhile we may check a newly created backup file in our WebShell file manager
The backup processes have been queued now and will be completed shortly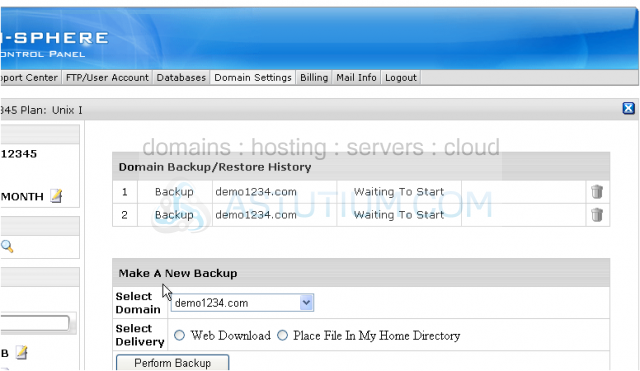
This is WebShell main screen, the so called home directory of your account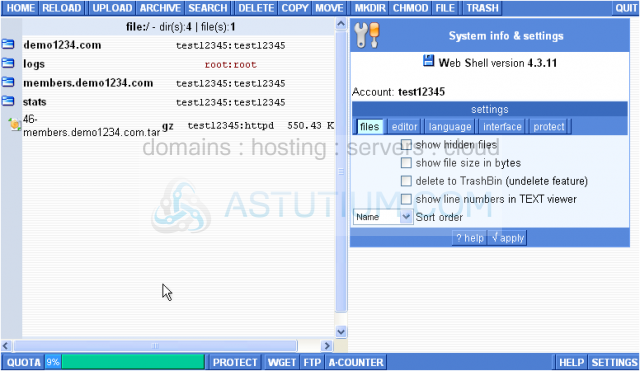
You can see that a new backup file has already been created and placed into your home
Let's quit WebShell application now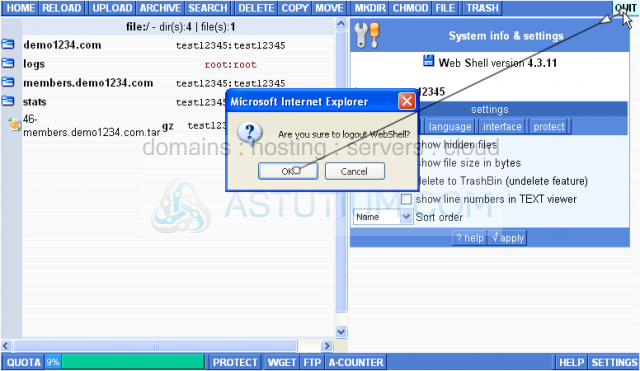
Now you may see that both backup operations have been completed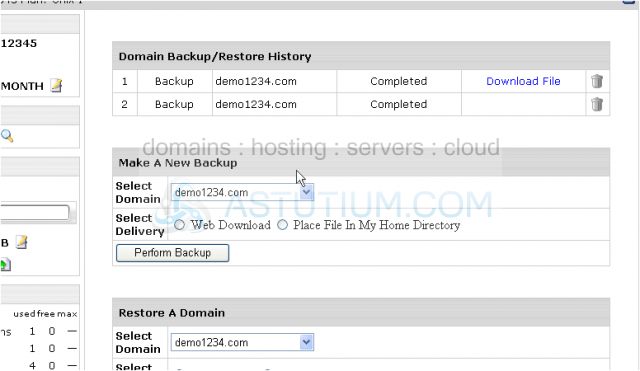
7) To download a new backup file click the download link here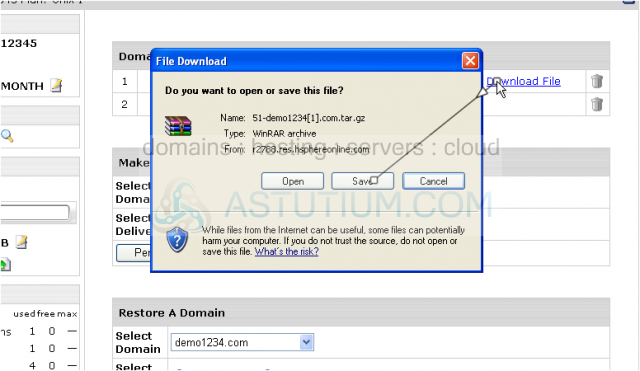
8) Click Close when you finish downloading a file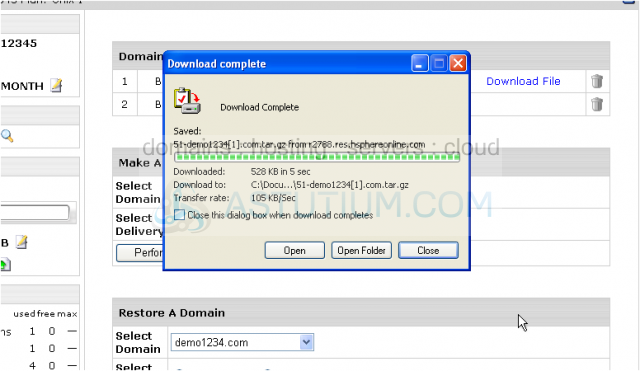
From this area you may also perform a website's restore either using Web Upload or getting a ready backup file from your home directory
This is the end of the tutorial. You now know how to create a backup of your website or restore it if required by means of H-Sphere interface. Remember that you can also perform these operations through your FTP client program if your website's very large