CMS Made Simple series
24. How to prepare CMS Made Simple for installation via SSH/PuTTY
In this tutorial, you will learn how to prepare CMS Made Simple for it's web based installation. We'll show you how to download all files, and properly set the file permissions.
1) First, browse to the public_html folder(ex. cd public_html)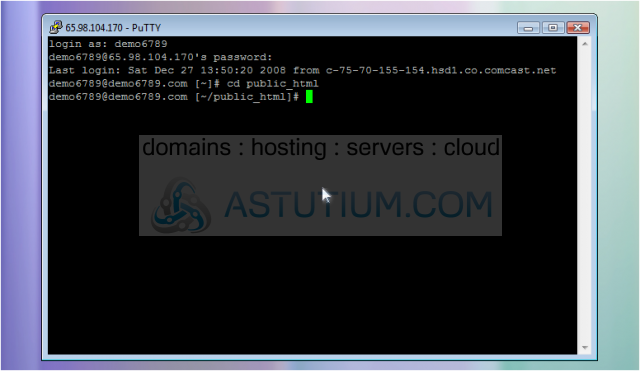
This tutorial assumes you have already opened PuTTY and connected to your server
2) Type mkdir <directory_name>; Then type cd <directory_name> to browse to the directory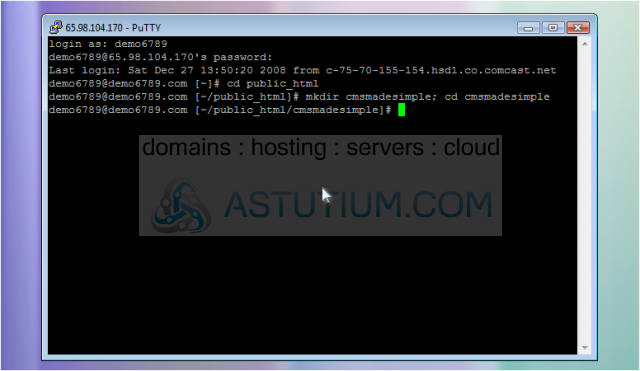
3) Once finished, hit Enter
4) Now, a directory needs to be created where all CMSms files will be placed
Once the directory has been created it's time to download the CMSms archive
5) Use the wget command here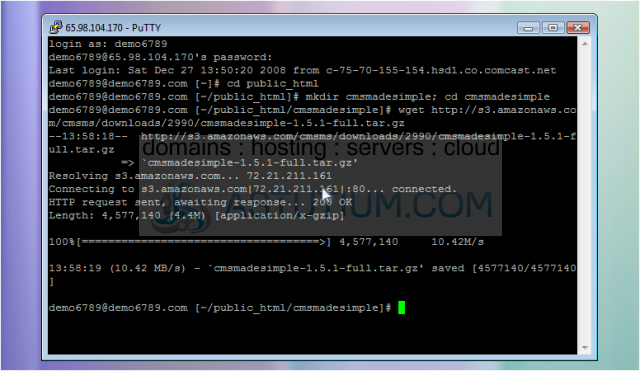
6) Please use our URL as a template. Once finished typing the URL, hit Enter
The server has successfully downloaded the archive. Now, the archive needs to be extracted
7) Once finished, hit Enter
8) Type tar -zxf <arvhive_name> here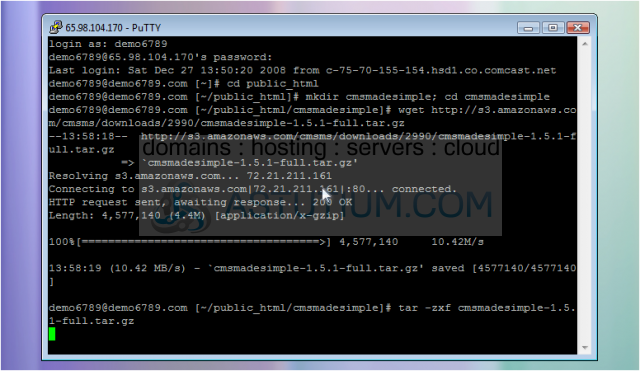
Now, the proper file permissions need to be set. Follow along with the files we chmod
9) Type chmod 777 tmp; then hit Enter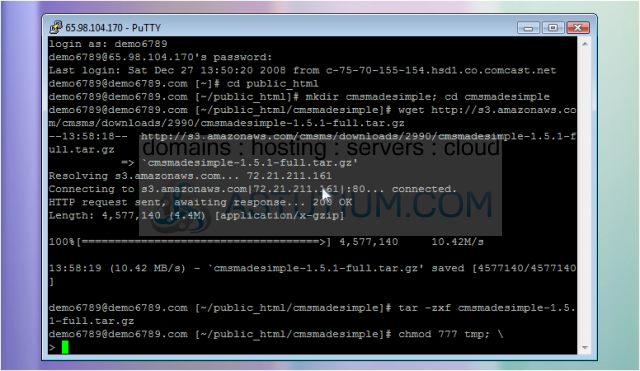
10) Type chmod 777 tmptemplates_c; then hit Enter
11) Type chmod 777 tmpcache; then hit Enter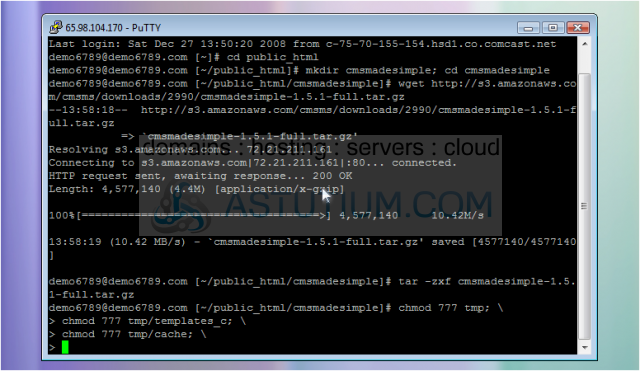
12) Type chmod 777 uploads; then hit Enter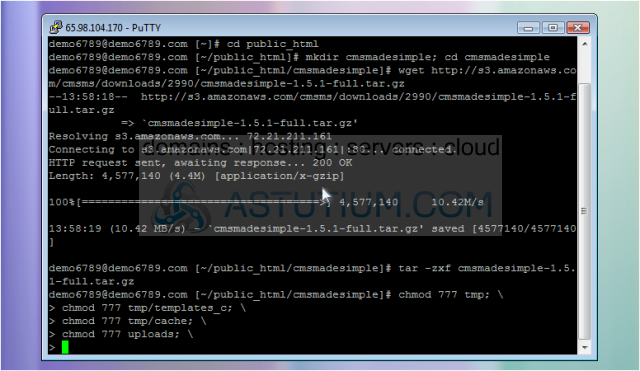
13) Type chmod 777 uploads/images; then hit Enter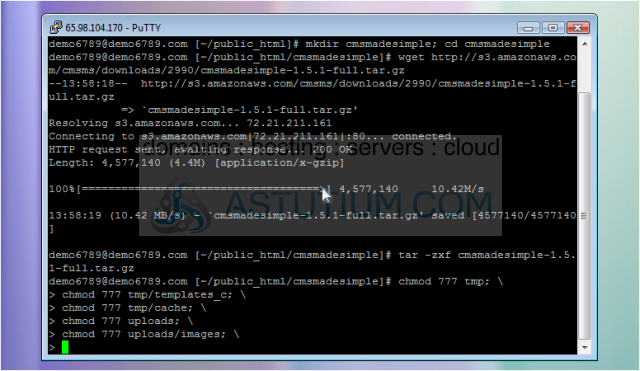
14) Type chmod 777 modules then hit Enter
You have successfully set all proper file permissions.The final step is to create the config file and set proper permissions
15) Paste the touch and chmod command here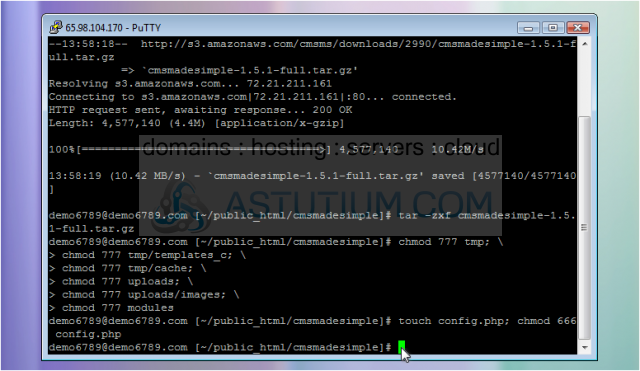
This is the end of the tutorial. You have successfully created the CMSms directory, downloaded the content, and set the proper permissions. The next step is to start the web-based installation wizard