Plesk 8 (Linux) reseller series
17. How to change the skeleton files
This demo assumes you've already logged in to Plesk
Now let's learn how to change the skeleton files in Plesk
1) Click the Skeleton icon here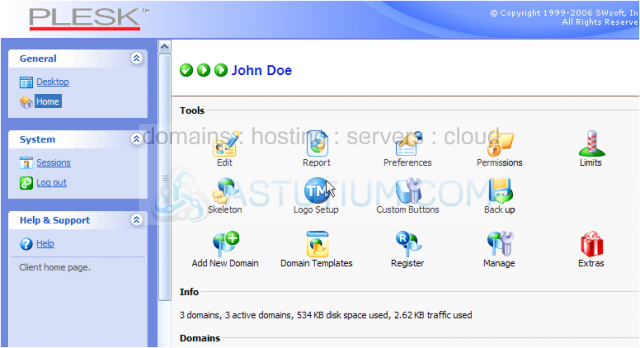
Scroll down
This is the main page where you can manage your skeleton files and directories
Your skeleton files and directories are the files and directories that automatically get installed in every new account you create
The skeleton may only contain the following top level directories: httpdocs, httpsdocs, cgi-bin, anon-ftp, error-docs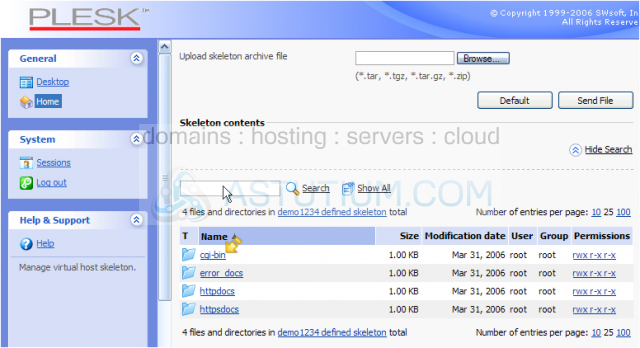
You can include files inside each of these directories as well; for example, put a custom index.html page in the httpdocs directory, so it is the page that displays automatically in a hosting account until the customer replaces it with their own
2) Click a folder icon to see what files exist in the directory
Here you can see the skeleton directories that exist in our account
Scroll down
As you can see, the httpdocs directory has several sub-directories and files inside it..... including an index.html page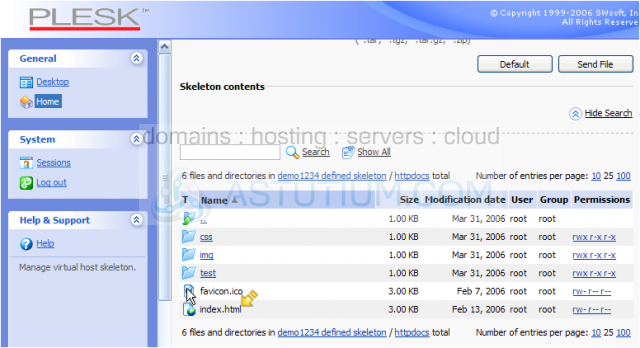
3) Click here to go up a level, and return to our main skeleton page
In order to upload your own custom skeleton directories and files, you would have to create the desired directories on your local computer, place the custom files in the directories as desired, pack the directories and files into a *.tar, *.tgz, *.tar.gz or *.zip archive file.....
..... then use the Browse tool to locate the zipped file on your computer.....
..... then click Send File to upload your new skeleton to Plesk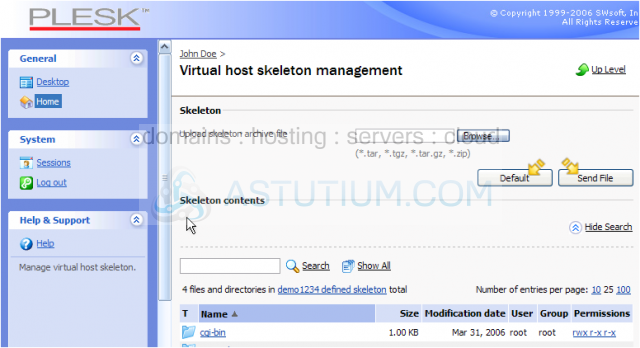
4) If you ever want to revert back to the default skeleton settings, simply click the Default button here
This is the end of the tutorial. You now know how to manage your skeleton files and what they are used for