WHM 11 management series
14. How to generate a new self-signed SSL certificate in WHM
Whenever you, your clients, or their visitors access a website through an encrypted connection (such as with HTTPS or FTPS), that connection is typically made using a protocol known as SSL.
Both SSL and its successor, TLS, function using certificates that can be created on any computer. When you create your own, the certificate is known as a self-signed certificate.
Businesses will often purchase an SSL certificate from a reliable source, such as Verisign or Trustwave, so that customers are assured that their transactions are as secure as possible.
Unless your SSL certificates are created specifically for a domain name, a visitor will be warned that the domain on the certificate does not match the domain name they're connecting to. This is for security purposes.
If a website is moved to a different domain name, you'll need to update its SSL certificate(s). This will prevent clients and their visitors from being scared away by warning messages.
This tutorial will show you how to generate a new self-signed SSL certificate for a domain name. In addition, a Signing Request will be created, which can be used if you decide to pay for a certificate.
1) Scroll all the way down in the menu to SSL/TLS.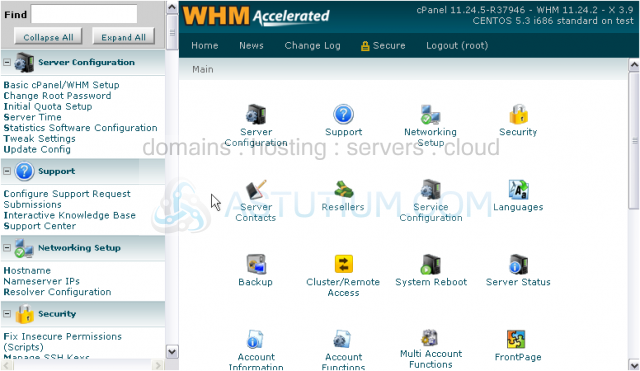
2) Click Generate a SSL Certificate and Signing Request.
3) Start by entering the e-mail address at which you'd like to receive the certificate.
4) If you don't want it to be e-mailed to you, click this checkmark.
5) Next, you'll need to fill in the certificate information. This will be displayed when a user connects, so you should make sure to enter your official information.
6) Enter an official e-mail address to place on the certificate.
7) Then, enter or Generate a password for the certificate.
8) Symbols cannot be used in this password, so let's increase the password length to offset that.
9) Click Regenerate until you get a password that's strong enough.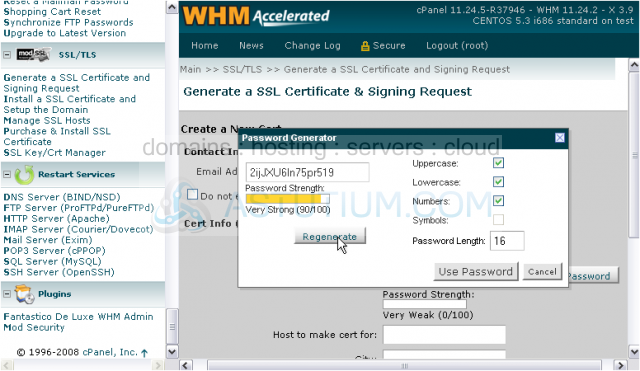
10) Then, hit Use Password.
Make sure you know this password or have written it down, as you may need it later.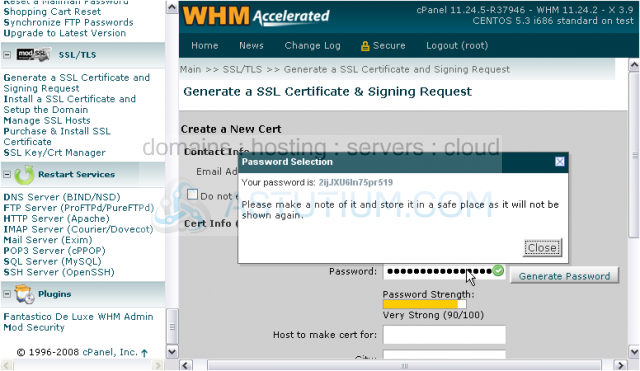
11) Now, enter the host for which to make the certificate.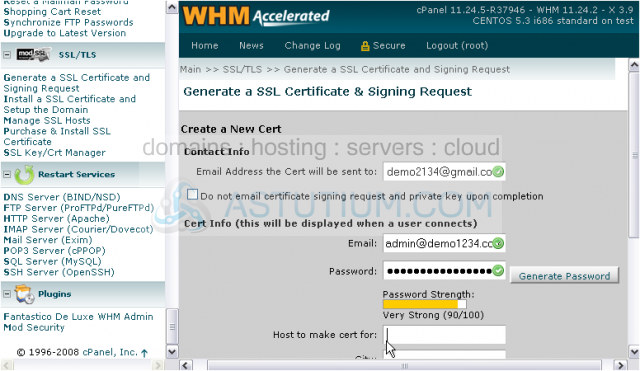
12) Fill out your location information.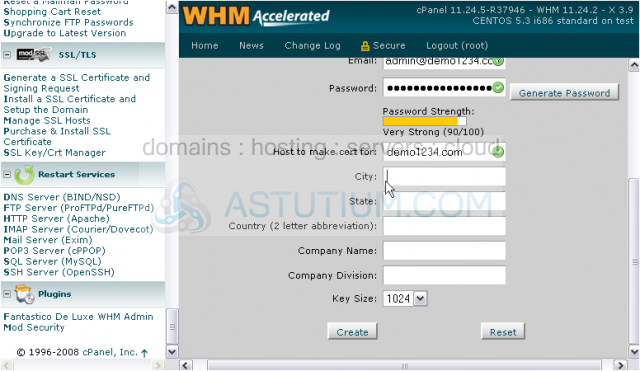
13) Enter your Company Name and Division. If you're not sure what to put for division, you should be able to leave it blank.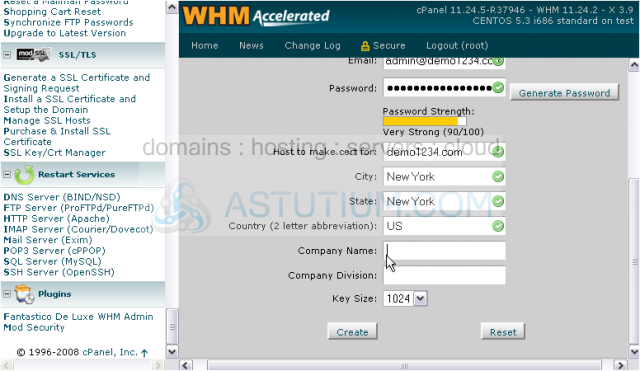
14) Select 2048 for the key size.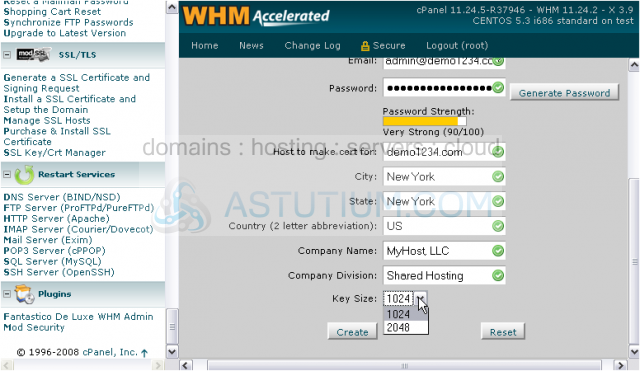
15) Finally, click Create.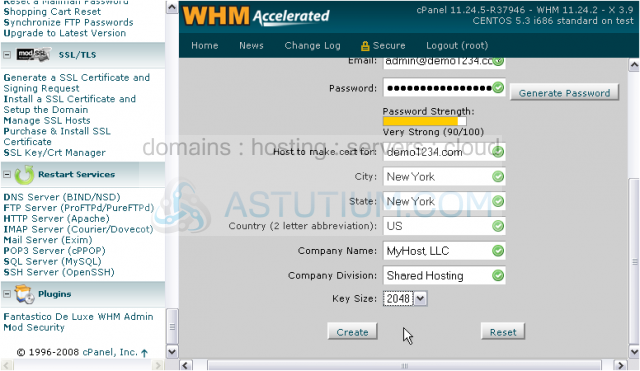
That's it! A Signing Request, Certificate, and Private Key have all been created and will show up here. They may have been sent to your e-mail address, per your settings.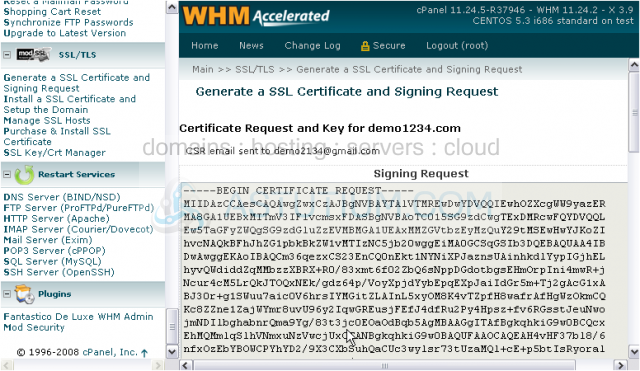
The Private Key is called private for a reason -- you should keep it safe as if it were a password.
Your SSL certificate is now ready to be used -- find out how in the next tutorial. Or, go another step further and purchase one from a Trusted Authority using the signing request you just created.
This tutorial is now complete. You now know how to generate a new self-signed SSL certificate in WHM.