WHM 11 services series
12. How to configure your incoming mail server in WHM (POP3/IMAP)
WHM provides you with a choice of two incoming mail servers, both of which support the POP3 & IMAP protocols.
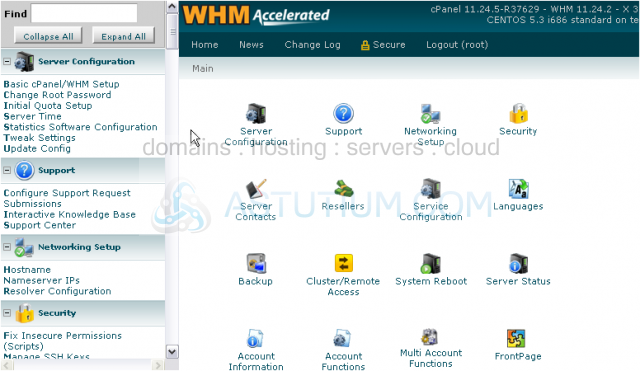
1) Locate Service Configuration in the menu.
2) We'll start with the Mailserver Selection page.
Here, you can choose between Courier (the default) and Dovecot. Dovecot is recommended for systems that don't have a lot of memory or processing capabilities. When in doubt, just leave Courier as your mailserver.
3) You can also Disable the POP3/IMAP server completely by selecting the third option.
If you're going to change your mailserver, you should probably leave the Convert Mailbox Format box checked.
4) Click Save when ready.
If you selected a different mailserver option, your mailserver should now be changed.
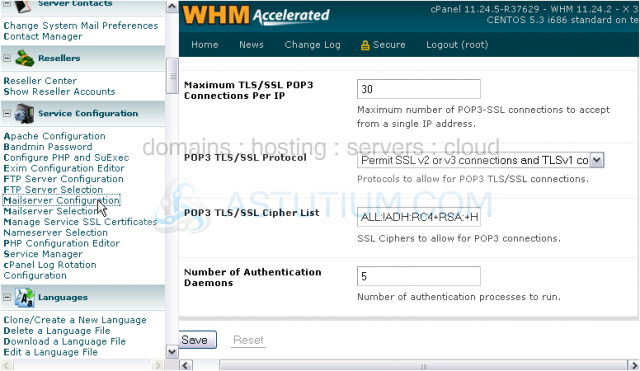
5) Next, let's take a look at the Mailserver Configuration page.
Each mailserver has its own configuration page, but they both contain fairly similar options. You will be taken automatically to the correct page for your active mailserver. What you'll see in this tutorial is the Courier Configuration page.
The first option for either mailserver allows you to choose which mail protocols should be enabled. You'll probably want to leave all options checked.
Note that you must leave IMAP enabled in order for your clients to have webmail access.
The next two settings control the maximum number of IMAP connections to accept in total and per IP. Adjust them if you wish, but you probably shouldn't set either of them too high.
The number of Secure TLS/SSL IMAP connections made per IP can also be limited.
Leave the IMAP TLS/SSL protocol and cipher list alone, unless you have reason to change them.
POP3 connections can also be limited in the same three ways as IMAP.
Also, the same SSL-related options are available for POP3 as for IMAP.
Authentication Daemons are processes that run in the background to log users in when they connect to the mailserver.
The number of daemons your server will need depends on how active you expect it to be. Having too many daemons can use up lots of system resources, while having too few will cause a queue to form.
Either can mean delays for your customers, so try to pick a number that fits your system best. When in doubt, leave this setting as the default.
6) To finish, click Save.
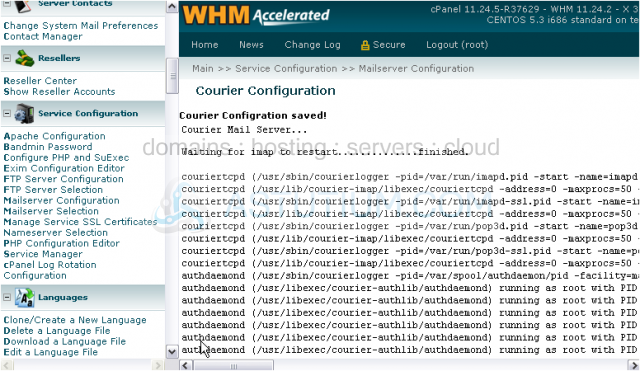
Wait for the changes to save and the mailserver to restart...
...and we're done! Now you know how to choose and configure your incoming mailserver in WHM.