WebsitePanel end-user series
9. How to create a MS SQL server database in WebsitePanel
This tutorial assumes you are already logged in to WebsitePanel
Now let's learn how to create a Microsoft SQL Server database
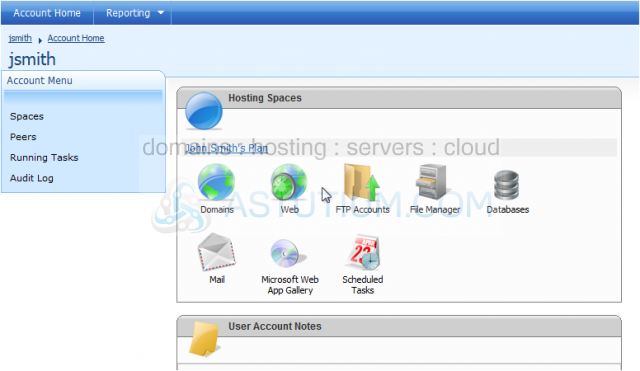
1) Click on the plan you want to add an SQL database to
2) Click Databases
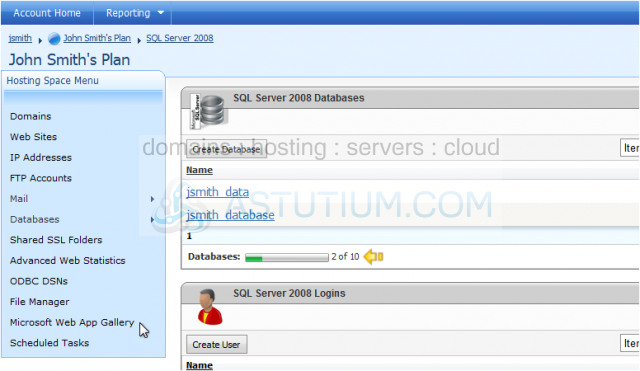
3) Click SQL Server
4) Click Create Database
5) Enter a name for your database
6) Click Save
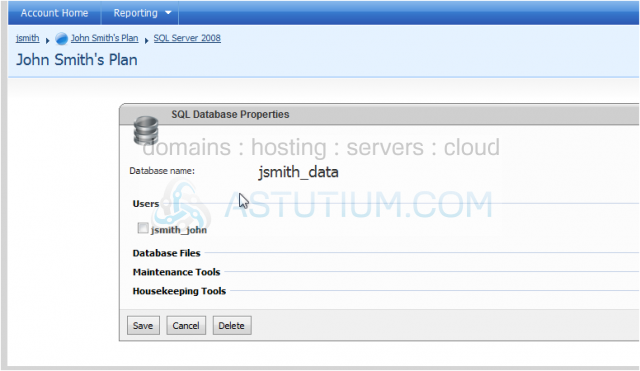
7) You can click on the database you just added to edit it
8) You can view existing users, information about the database files, delete or backup the database, or truncate files
9) Click Save when you are finished
Success! You can view your added databases and see how many allowed databases you've used
This is the end of the tutorial. You now know how to create a Microsoft SQL Server database in WebsitePanel