RVSiteBuilder 4 series
3. Changing your website template in RVSiteBuilder
This tutorial assumes you've already logged in to RVSiteBuilder. Now let's learn how to change our website template
1) Click the Step 2 Design option.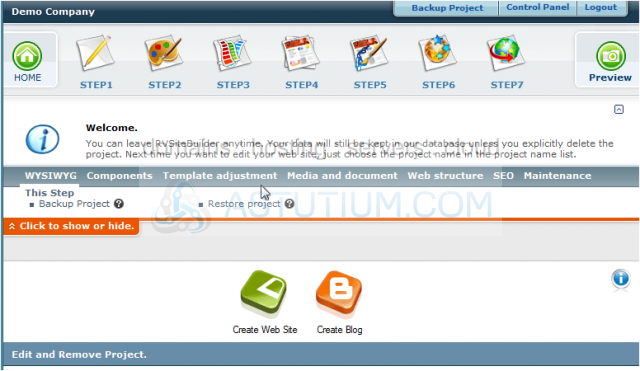
2) This is the website template main page, where you can select a template from a number of available styles. Instead of searching through all the templates' pages.....
3) ..... we can narrow our search by selecting a Category. Note: The existing template is shown on the left. 
4) OK, let's go ahead and choose a different website template. We have narrowed our list of templates, as there are now only 9 templates available in the category we chose. Each template has different coloring options as well... Let's see what this template looks like with the different color options
5) To choose a template, simply click on it.
6) That's it! Our new website template is shown here.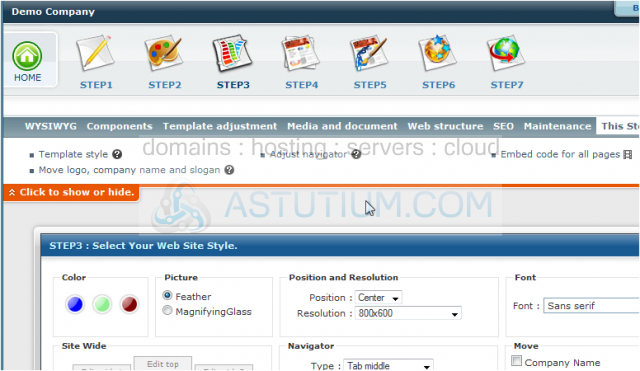
7) Click the Save button to save your changes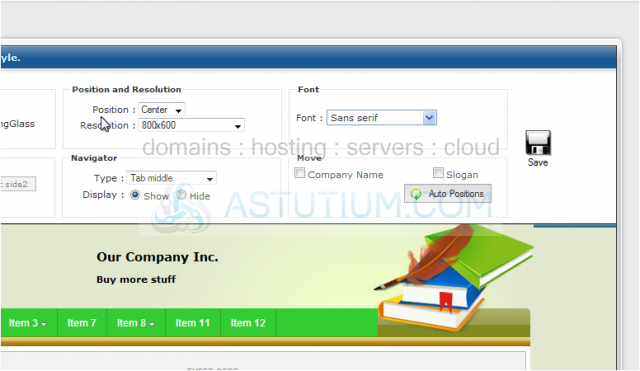
8) Anytime you make a change to your website, you have to Publish it for the effects to take effect..... click Step 7 Publish... Then click Publish.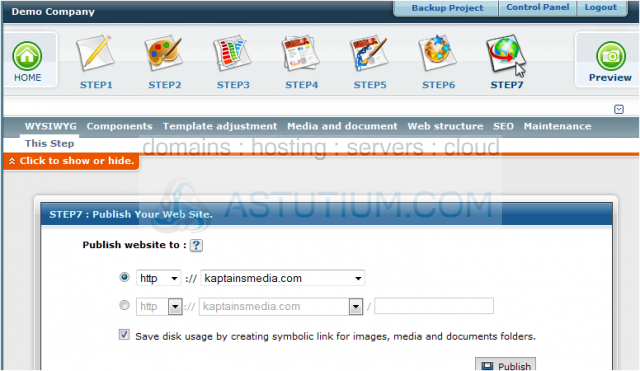
9) Click Next to overwrite the current website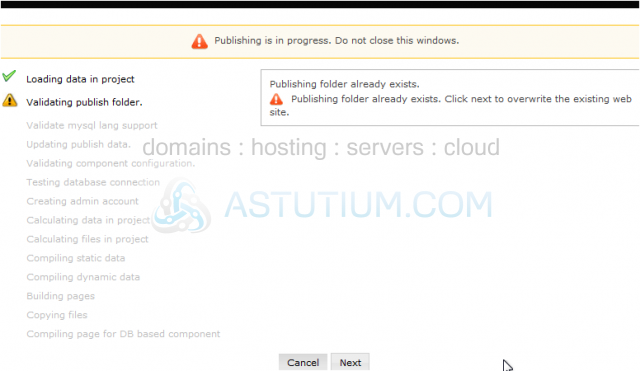
10) The published site will open in a new tab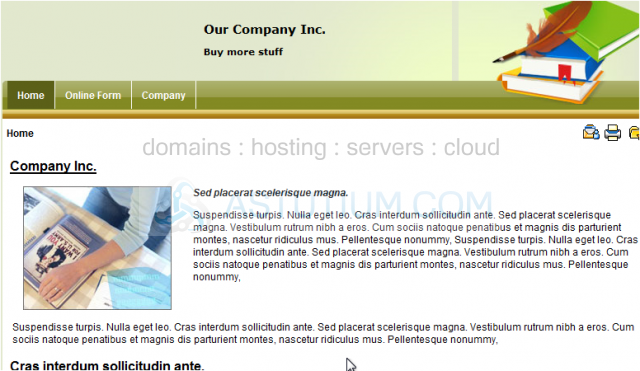
This is the end of the tutorial. You now know how to change your website template in RVSiteBuilder. Remember that you have to publish any changes you make for them to take effect